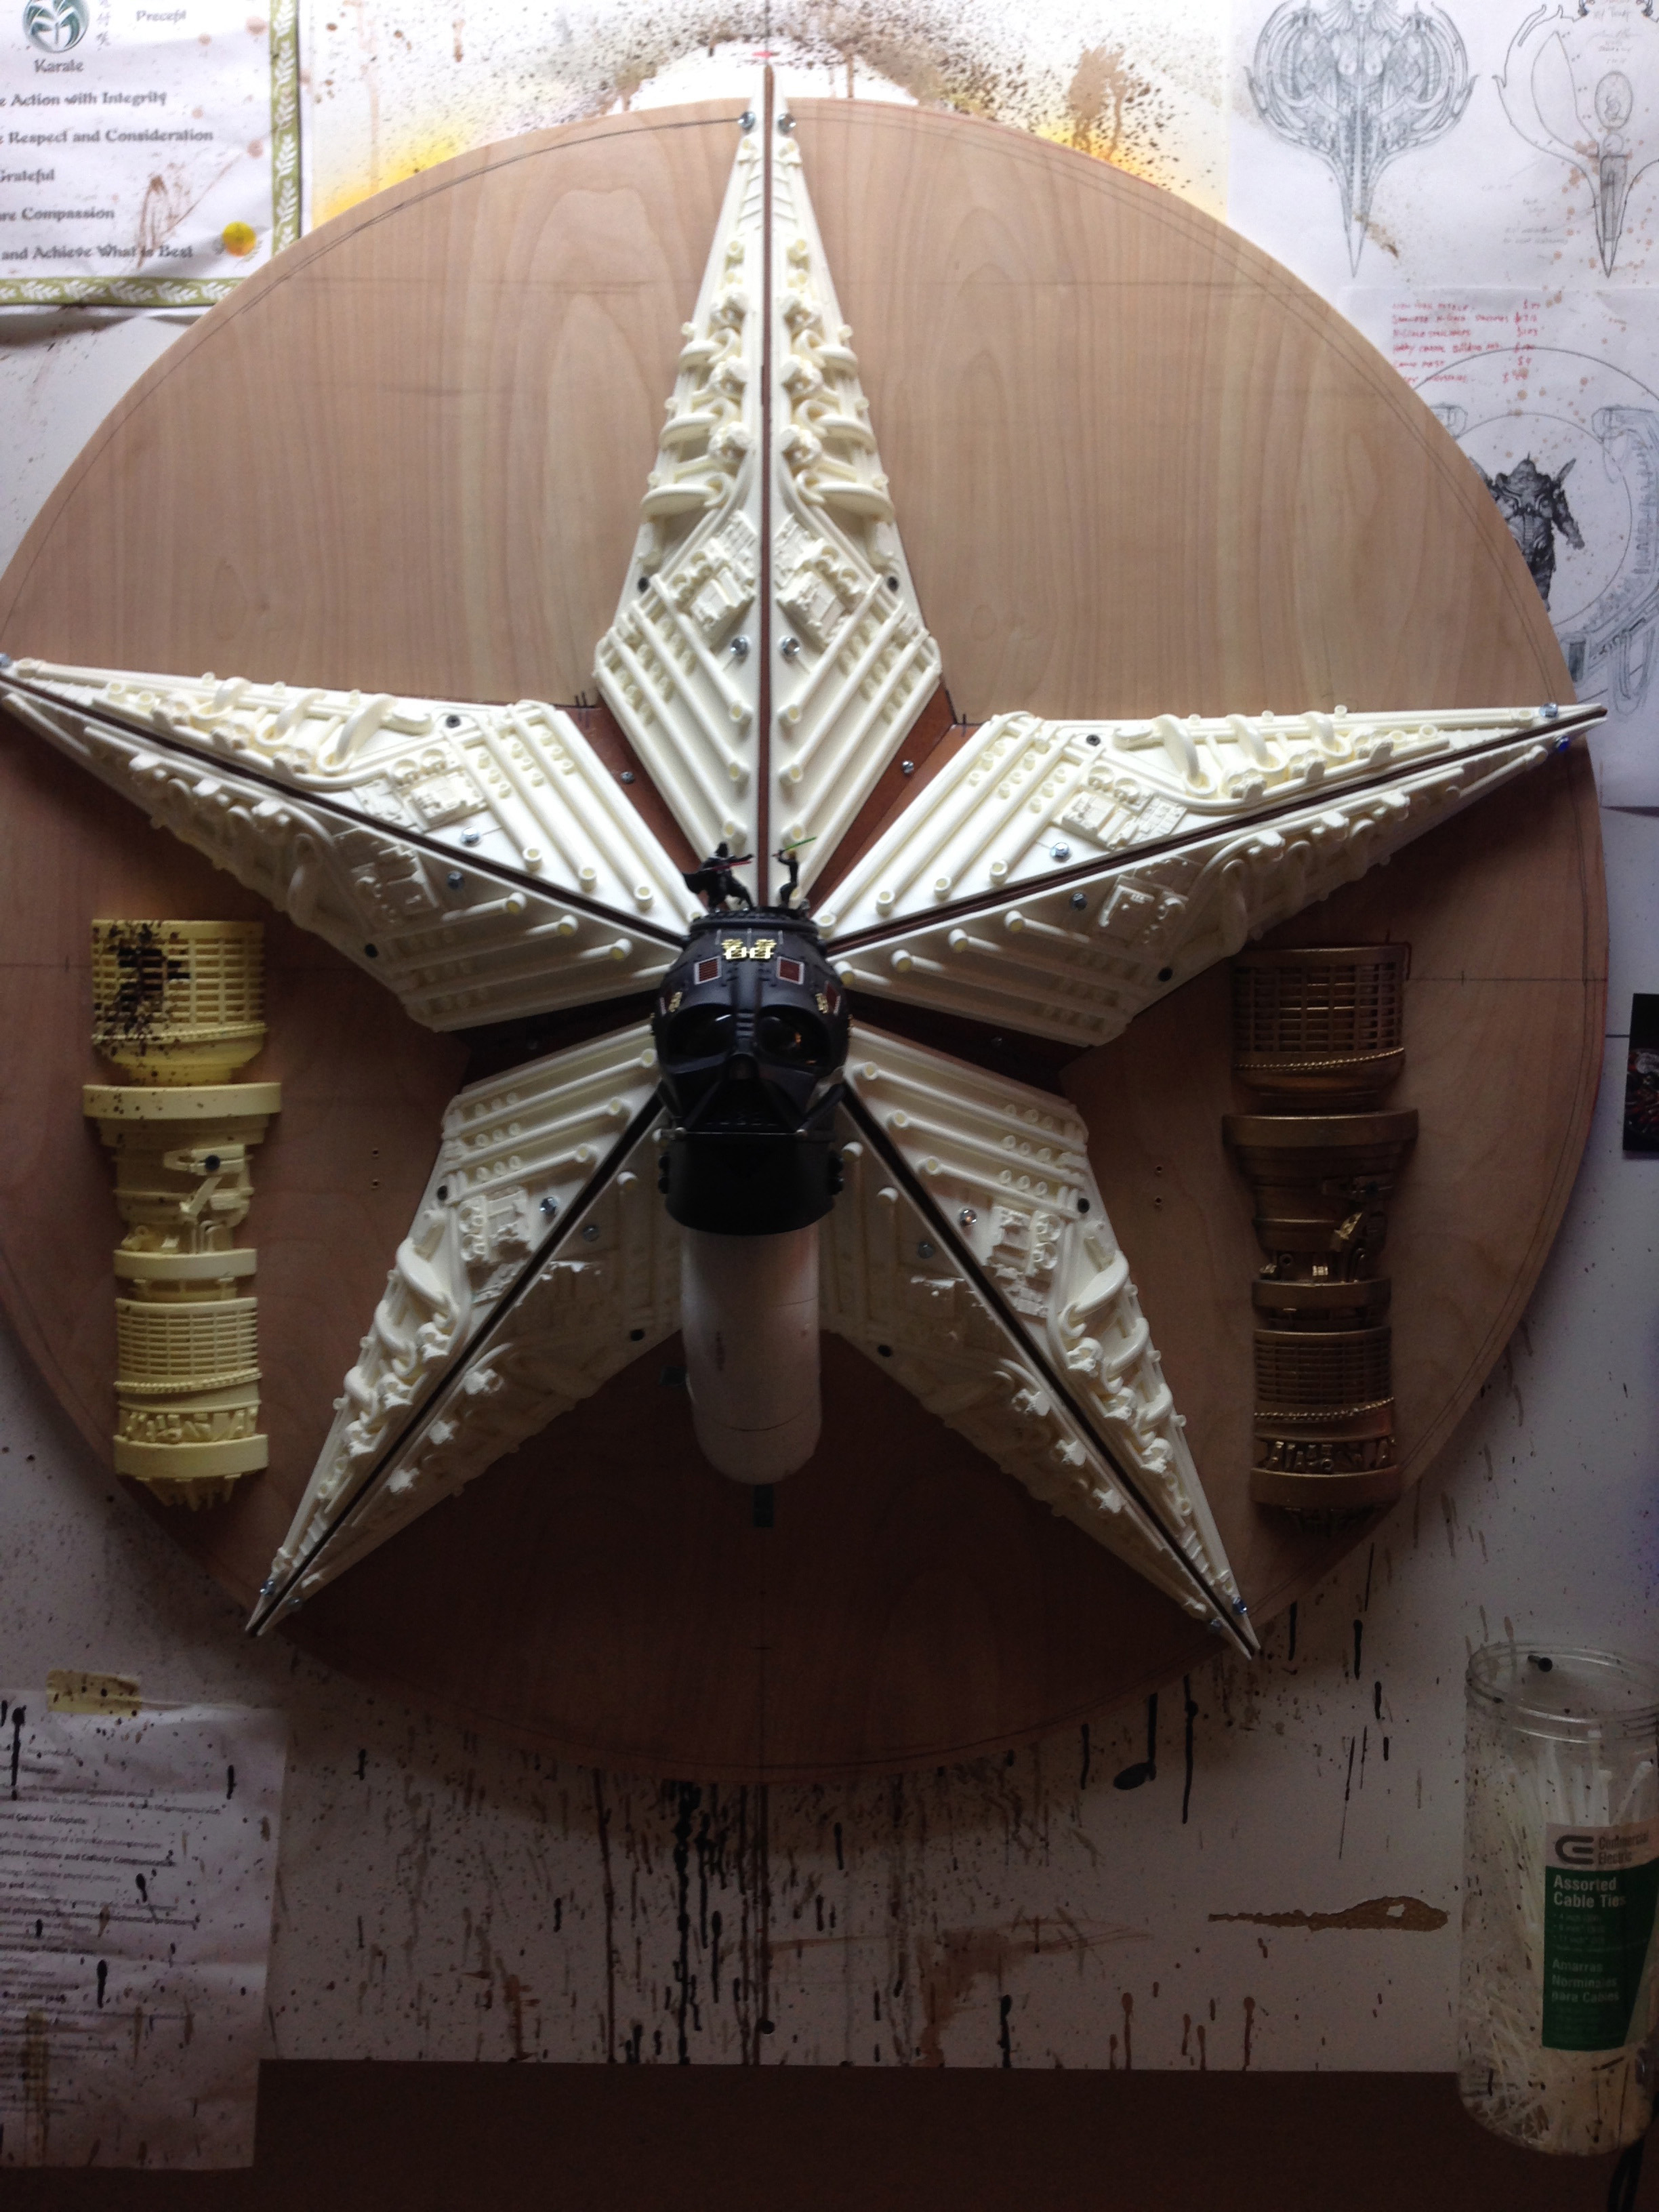
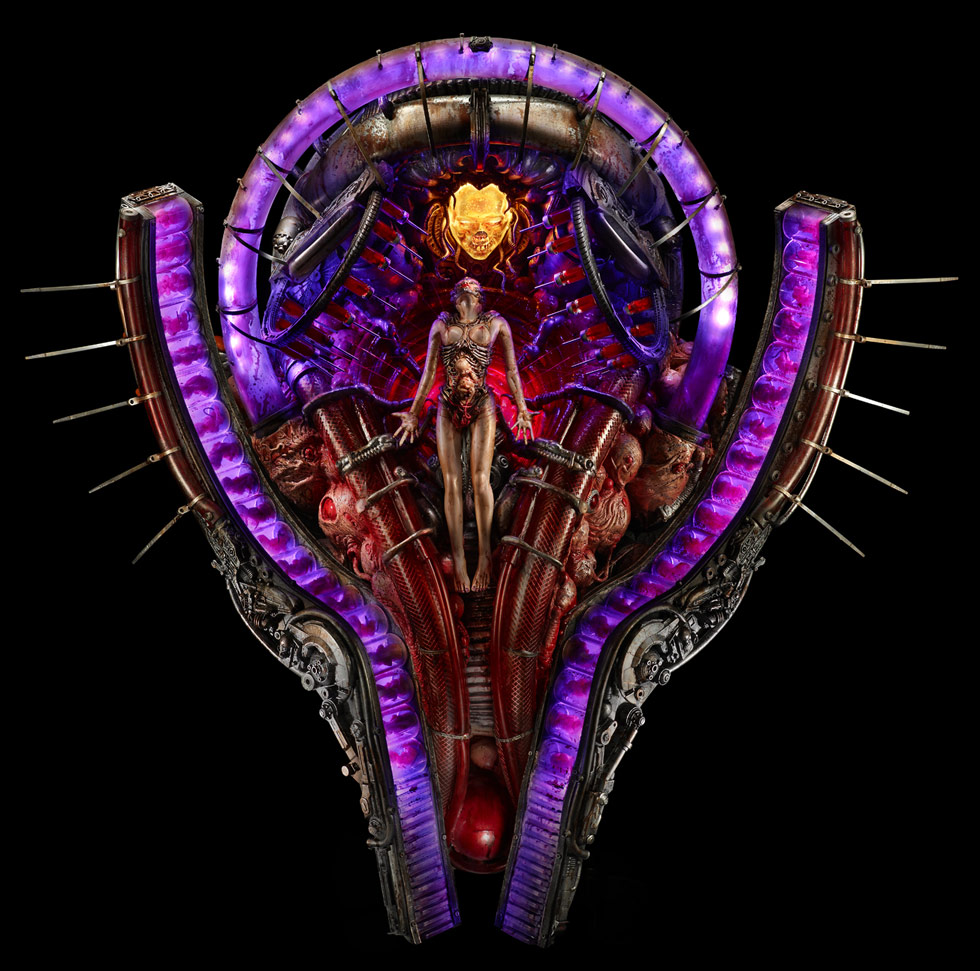
After over 6 years, my floating city sculpture is complete. It was a long journey that started back in 2013 with a small sketch of my wife Erica. Bellow are some benchmarks along my journey to get this sculpture completed. It goes backward in time….


Above are the LED lights on the RIGHT WING. To do this I first cut out the shape of the piece on a 1/8” dry erase board. This was handy because it was already white and relatively inexpensive for a sheet. After that, I put the sculpture on top of the cut out and used a brush with black paint to poke though the dozens of square peg holes in the sculpture. After removing the sculpture I was left with markings of where my light needed to be. The LED lights are a one long USB strip with a remote that can be switched to a variety of different colors. I drilled holes in the board and zip tied the strip down between individual LEDs to put them exactly where I wanted them to be. It was tedious work but the results are awesome! This same method was repeated on the LEFT WING and CENTER GODDESS pieces.
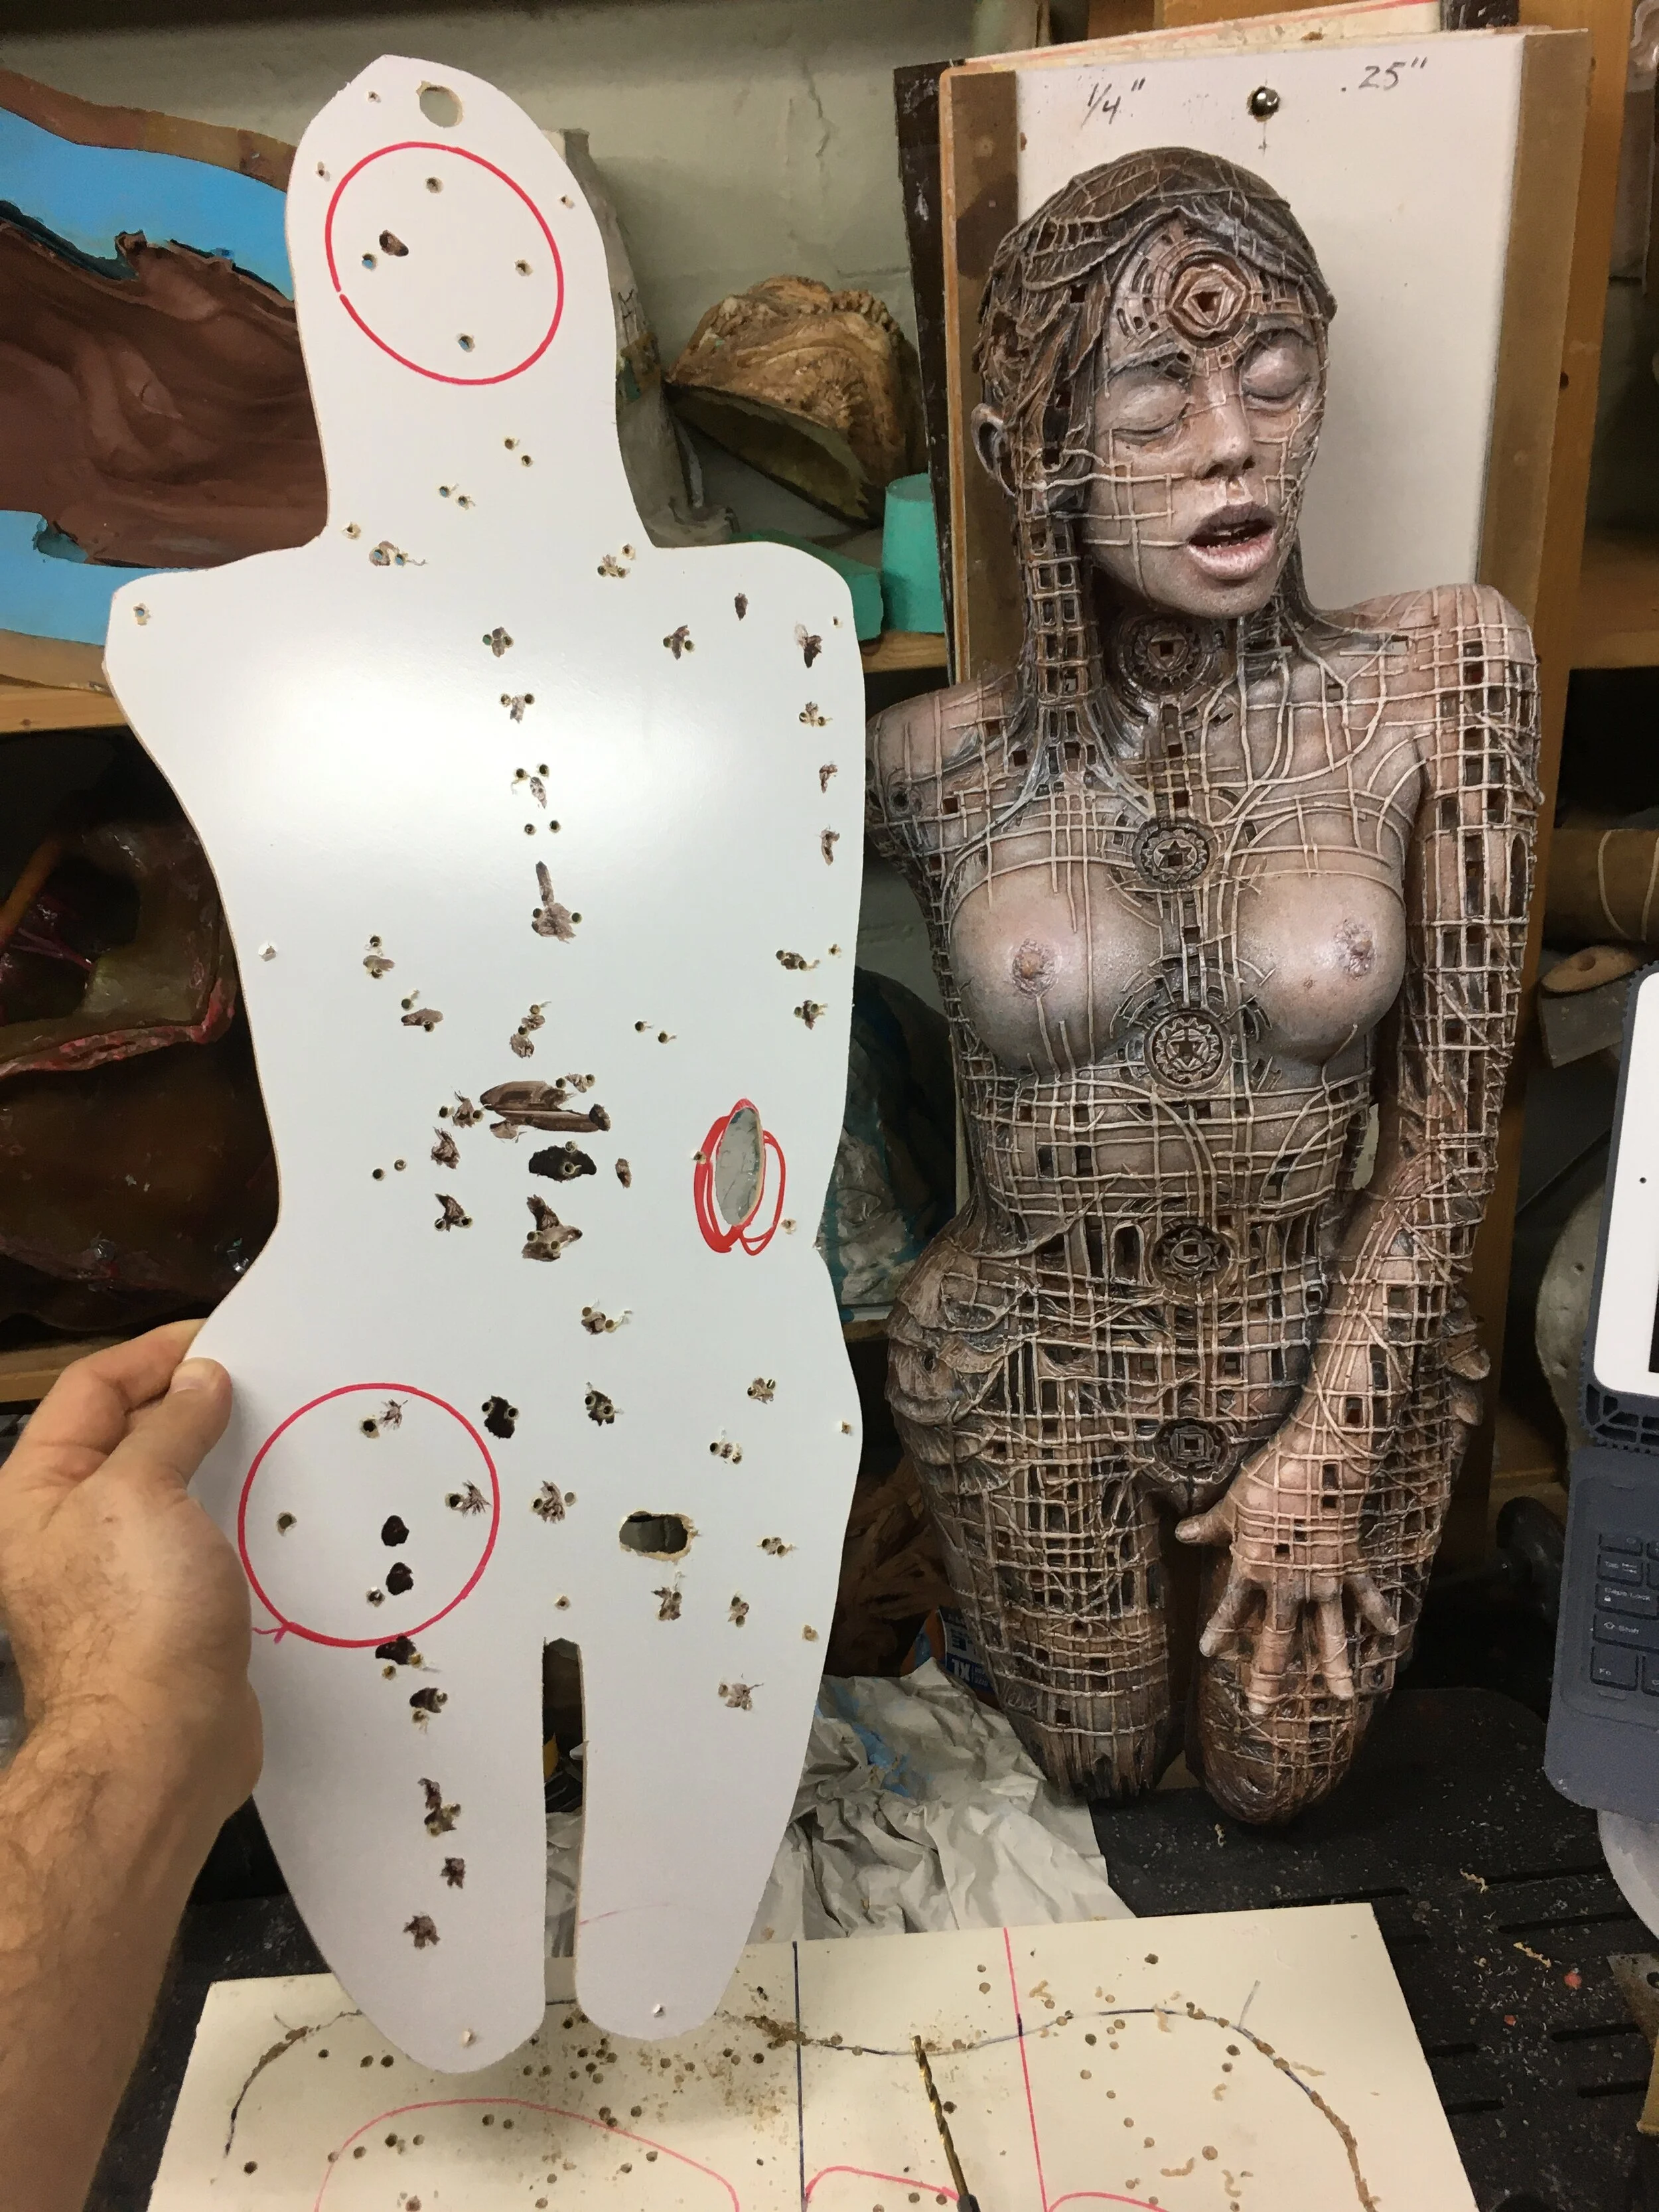
The center piece light board with pre-drilled holes. The red circled areas are where I have the mounting plates to a birch backing board.

FIRST LIGHT TEST!


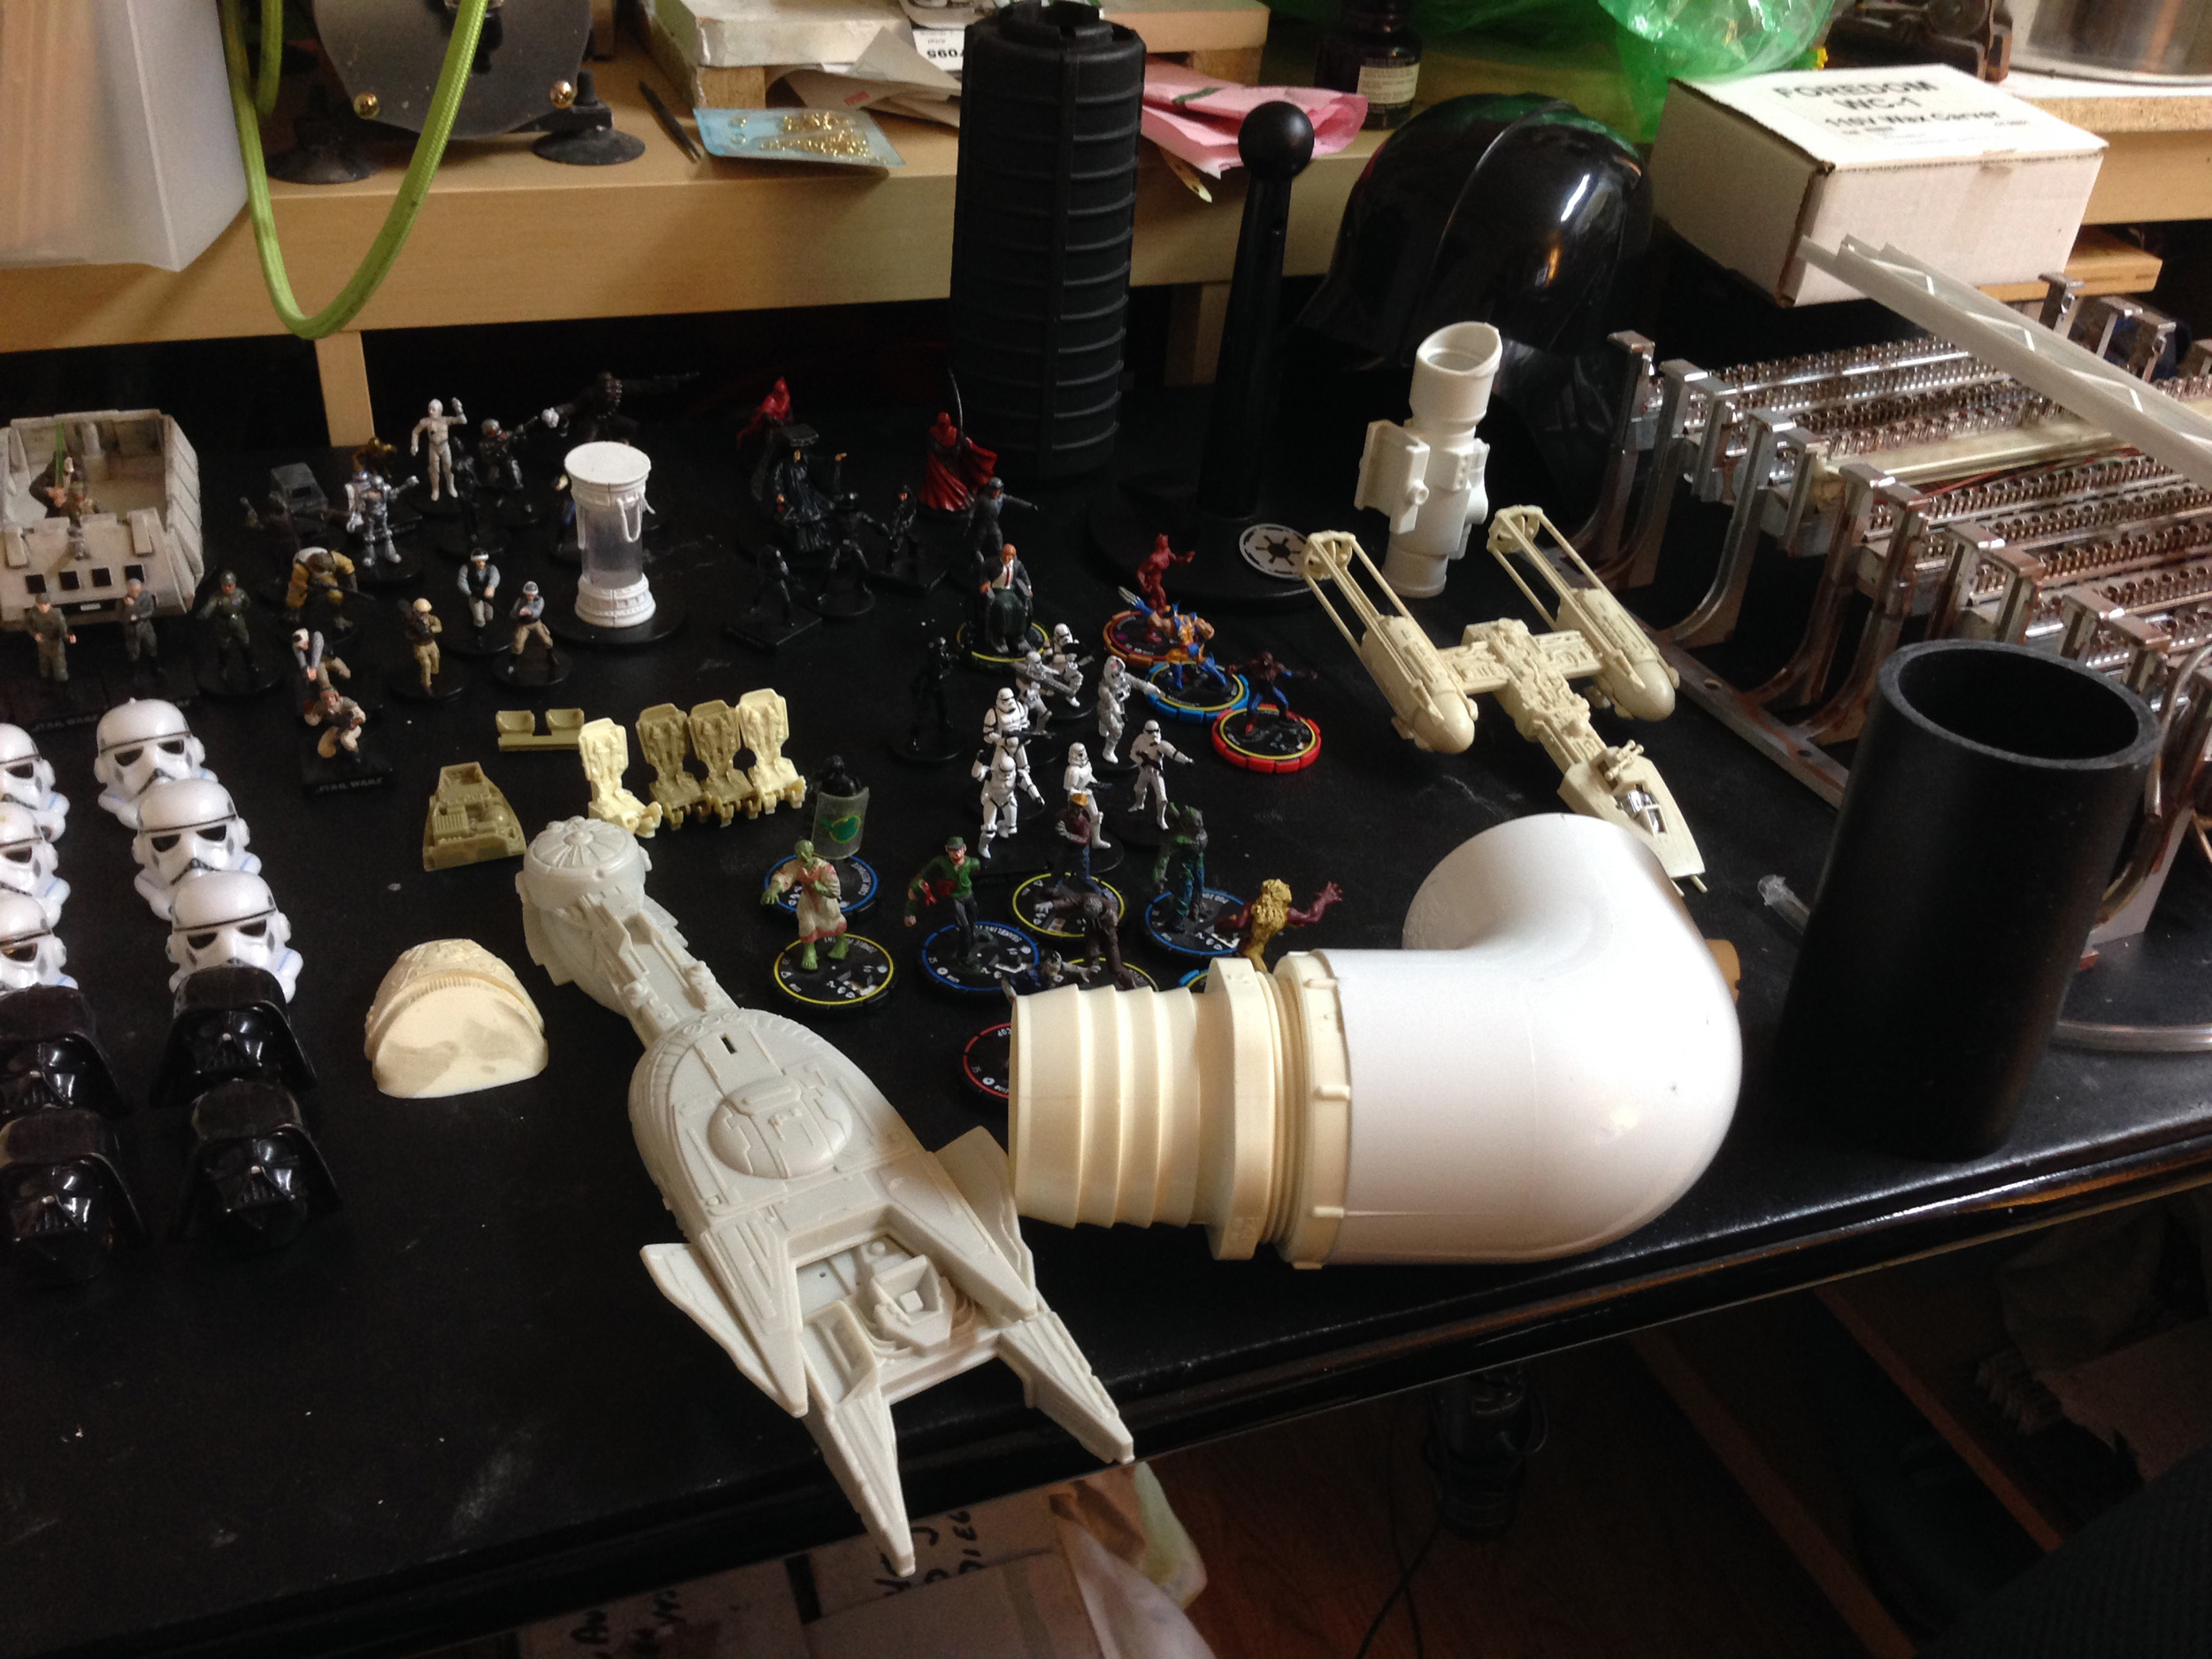
After I wired the three main sections I had to fill in the back to cover up the birch board everything is attached to. To do this, I used a variety of different pieces form other sculptures intended for this series. I started with the round tower piece, and my dice tower which I cut in half and stacked to make them taller. See images above. This was like fitting a jigsaw puzzle together with pieces the were not meant to fit. After a lot of trimming and refitting I got it just right. Once that was done I did the same method of lighting I did on the 3 center pieces. Each section of the sculpture has it’s own light strip that can be easily programed with different modes or colors, but to my eyes, I tend to go with all of them the same colors. Usually red of light blue.
This is the left wing in my "Spirit World" sculpture. For the build up, I hot glued polystyrene sheets on my sculpting board in the shapes I wanted and poured melted Monster clay into my makeshift mold. After the first layer of clay cooled I did two more layers on top of each other using this wall method. When it totally cooled, I carefully removed all the styrene walls. Enabled me to make nearly perfect angles of my structure to sculpt on saving me a ton of time. Designed this during a fun Halloween Tradeshow trip to New Orleans in my small travel sketchbook back in 2016. Image of this is further down. The thread.

Carving out the bottom was my first thought but I eventually filled it back in to make it easier to cast. See the finished image below.

I used Styrene strips to make the block up of the sculpture. This worked fantastically! It felt like making a layered clay cake!

The top section of the sculpture and some bottom pieces were removed to make it smaller to mold.

The finished bottom, note how the teeth are filled in stretching all the way to the bottom of the board. This is to make the molding and casting process less complicated.
Molding the left wing of the "Spirit World" was a pretty straight forward silicone matrix mold. Carefully, I cut the top portion off to be molded separately as well as some bottom bits. Made the jacket using epoxy and fiberglass cloth. However, the silicone I was using went bad and kicked on me within 15 minuets before I could get it into the mold! Removing the bad silicone from my clay sculpture was an absolute nightmare. It destroyed tons of detail I had to re-sculpt. Not to mention, I was under the gun to mold this and another piece. We were moving across the country in just a few weeks and I had not packed a thing yet! After a lot of re-sculpting detail and a new batch of silicone, the piece came out perfect. Huge thanks to Richard at https://motionpicturefx.com who saved my ass shipping out the silicone I desperately needed.

Fiberglass epoxy case mold jacket. I’m too old for heavy plaster jackets….

Silicone FAIL!


Above are images of the finished sculpted base designed to hold up the RIGHT WING of the sculpture on a tabletop. I like having an option to hold up the wing on a table for playing with.
7/25/16
I have been hard at work on finishing the first half of the game environment. As of this writing, the sculpt is complete and the mold is done and waiting for me to open! My brother Jonathan has been creating the cards content that will basically run the narrative of the game. We will have a prototype ready to play soon! I'm very excited to start sculpting the other side of the environment and make some miniature figures!!

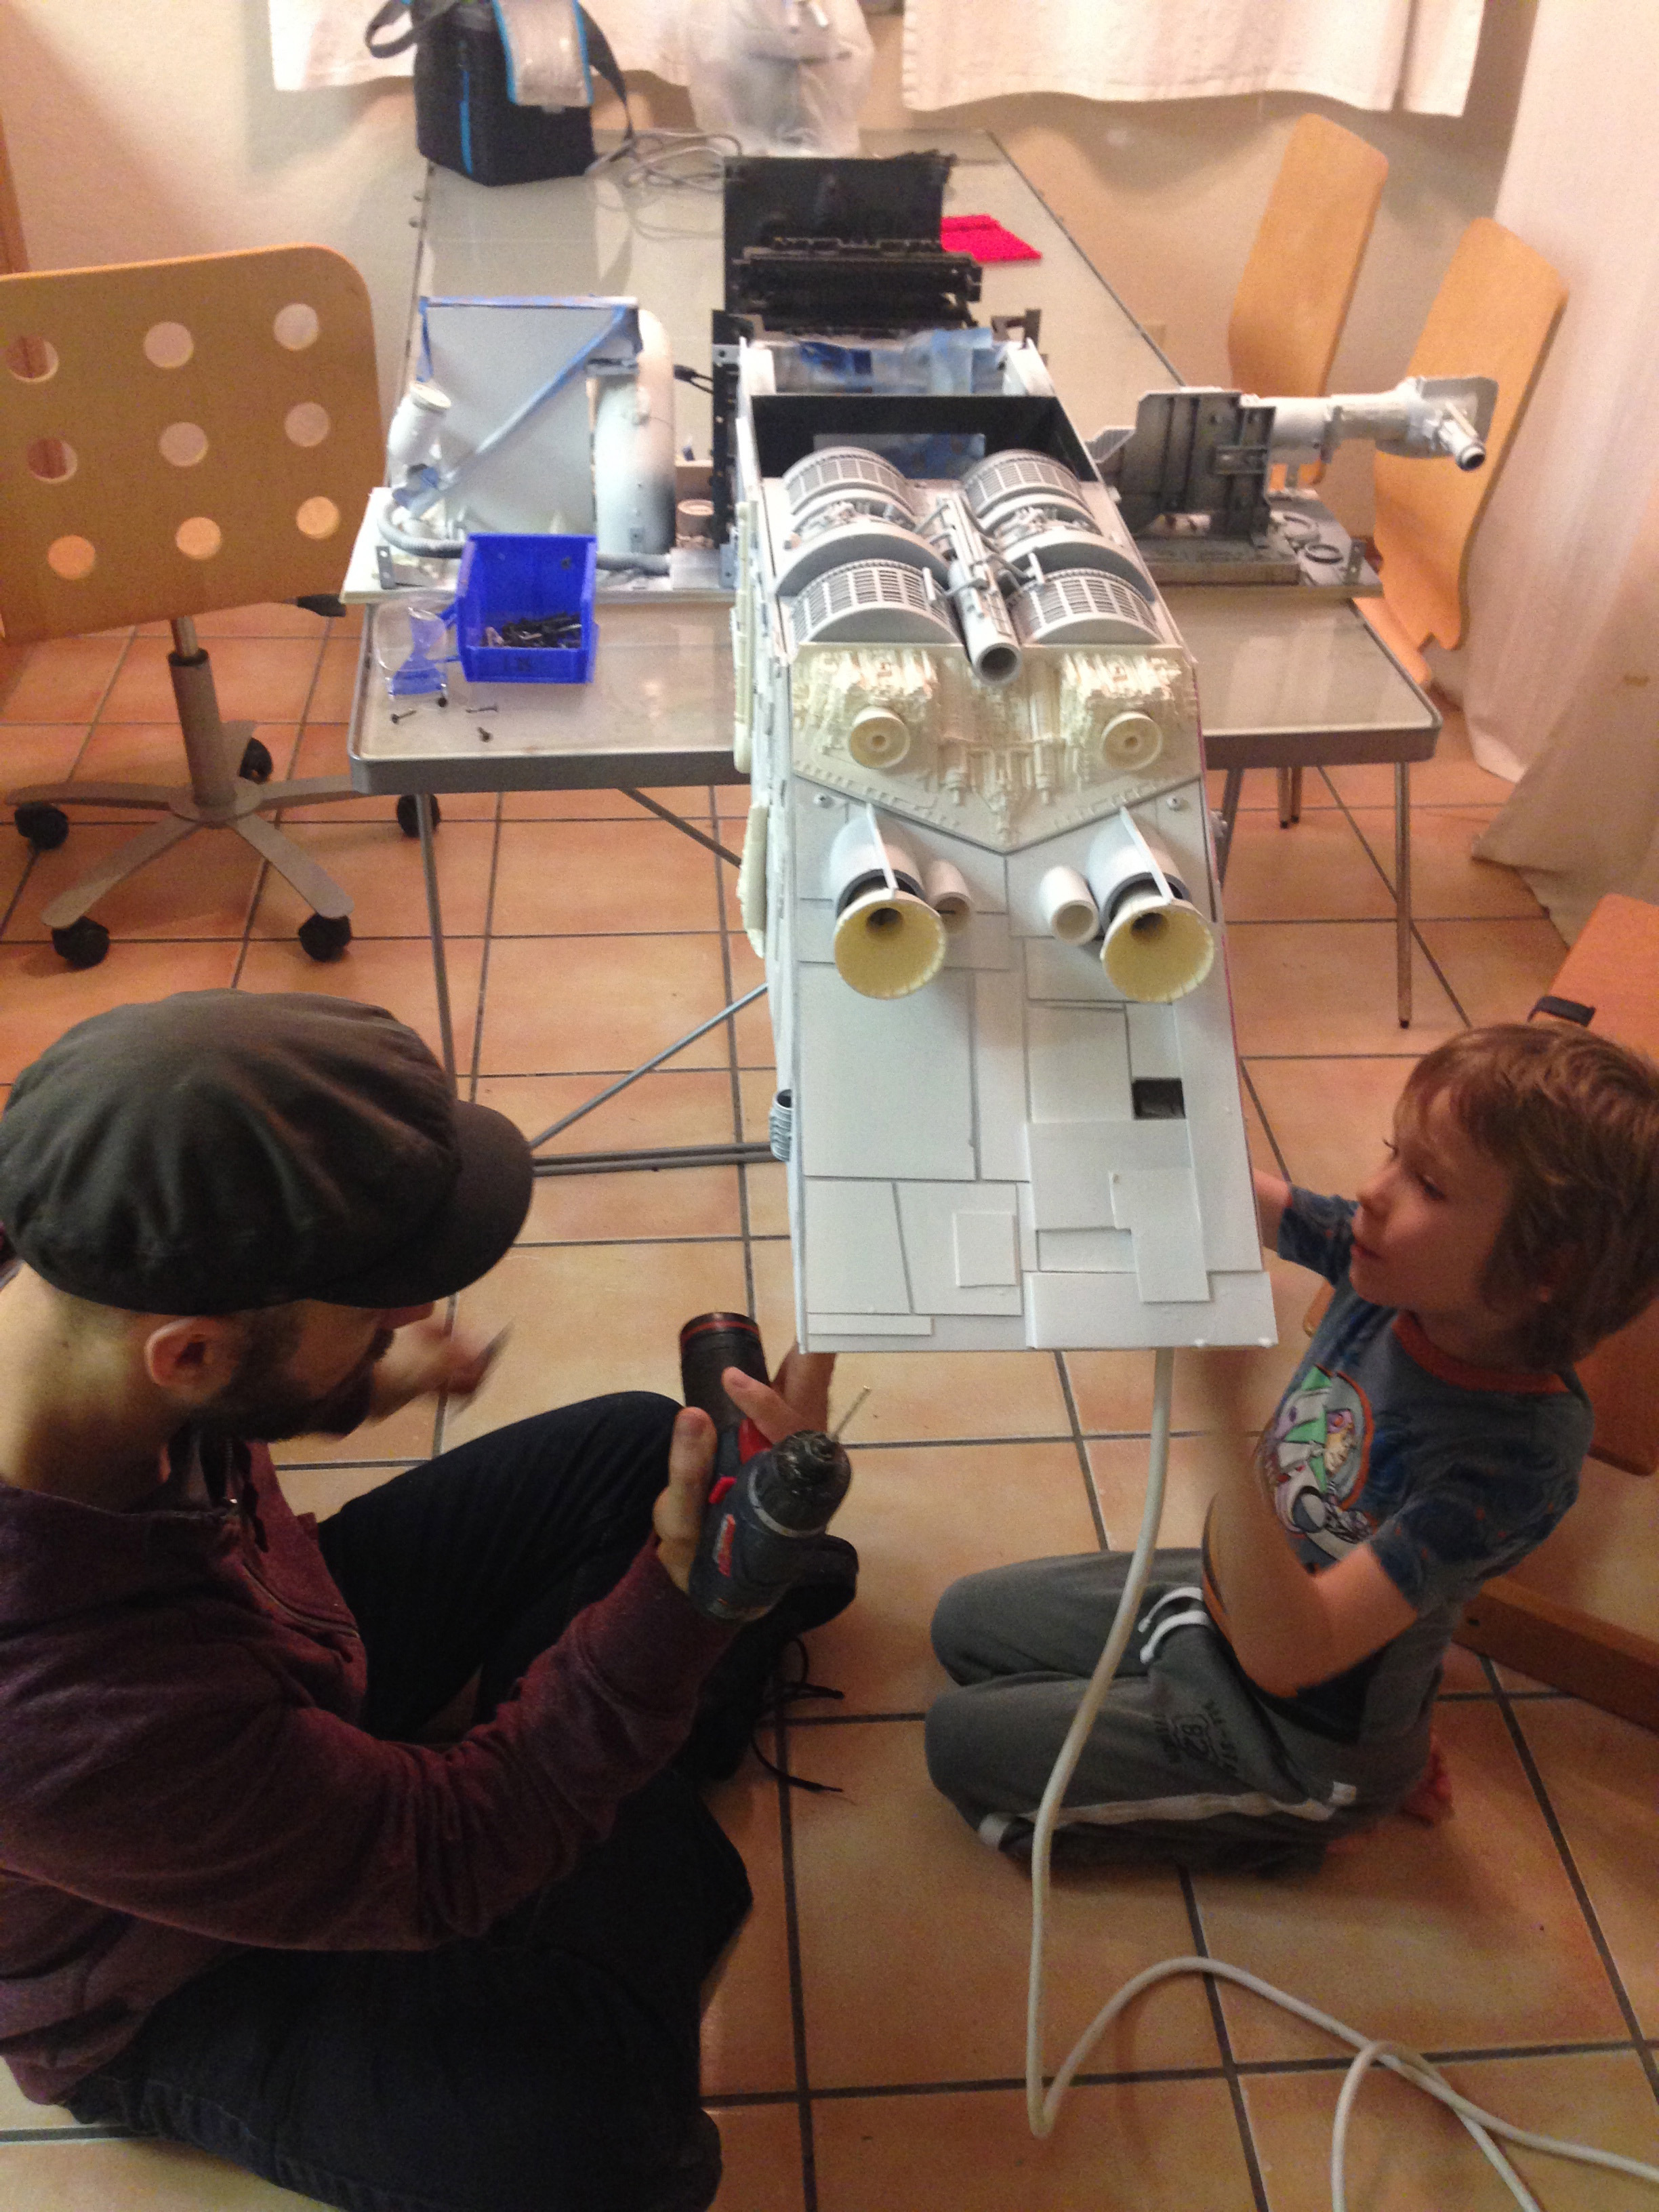
Above is an angled top view of the completed left half of the environment sculpted in Monster Clay. The brass tubing will serve as my vents in the case mold.

Lucian and I are cleaning out the clay from the inside of the epoxy case mold jacket. I recently switched from using fiberglass to epoxy because of the VOC's (the toxicity and smell). All the clay is cleaned out, put into the two buckets you see then weighed. The weight of clay will determine how much silicone I will need to fill the mold. Clay was about 7500 grams. This figure is multiplied by .75 and give me a total weight of 5625, thanks Dick Smith!! I always add an extra 300-500 grams to fill the pour tube and any clay that was pressure washed out of the mold.
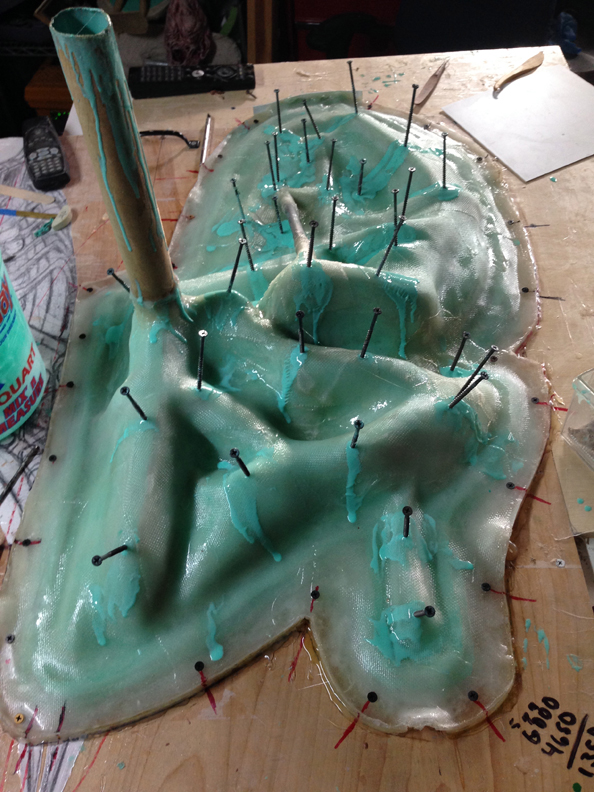
The case mold has just been filled with almost 7000 grams of silicone! The drywall screws are plugging my air holes. The are gently put in place after the hole bleeds out to ensure no air is trapped in the mold. All of these screws remind me of some kind of strange, tortured Hellraiser Pinhead thing...
All of my life, I have been an avid gamer. It started with a simple dice game my grandfather taught me when I was 4 or 5 years old. Then it gradually became an obsession. Over the years, I've played hundreds of games, video and board. I have a special fondness for playing miniature board games. There is something about moving characters on a map and encountering the unknown that really clicks with me. In games we can image any world presented to us, live in that place, conquer our fears, get the treasure and even experience a major ass kicking from a family member or friend, all in good fun. I'm always on the look out for new and innovative board games on Kickstarter and often spend hours in game stores looking at everything on the shelves or in display cases. Recently, I realized that the latest gallery art sculpture I am working on called "The Spirit World" was in fact, turning into a miniature game because of the way I was subconsciously making it! A deep seeded desire to fuse my intricate art sculptures with my obsession of board games finally broke free of my subconscious and will not let me go until it comes to fruition! So what is this game about? Read on!
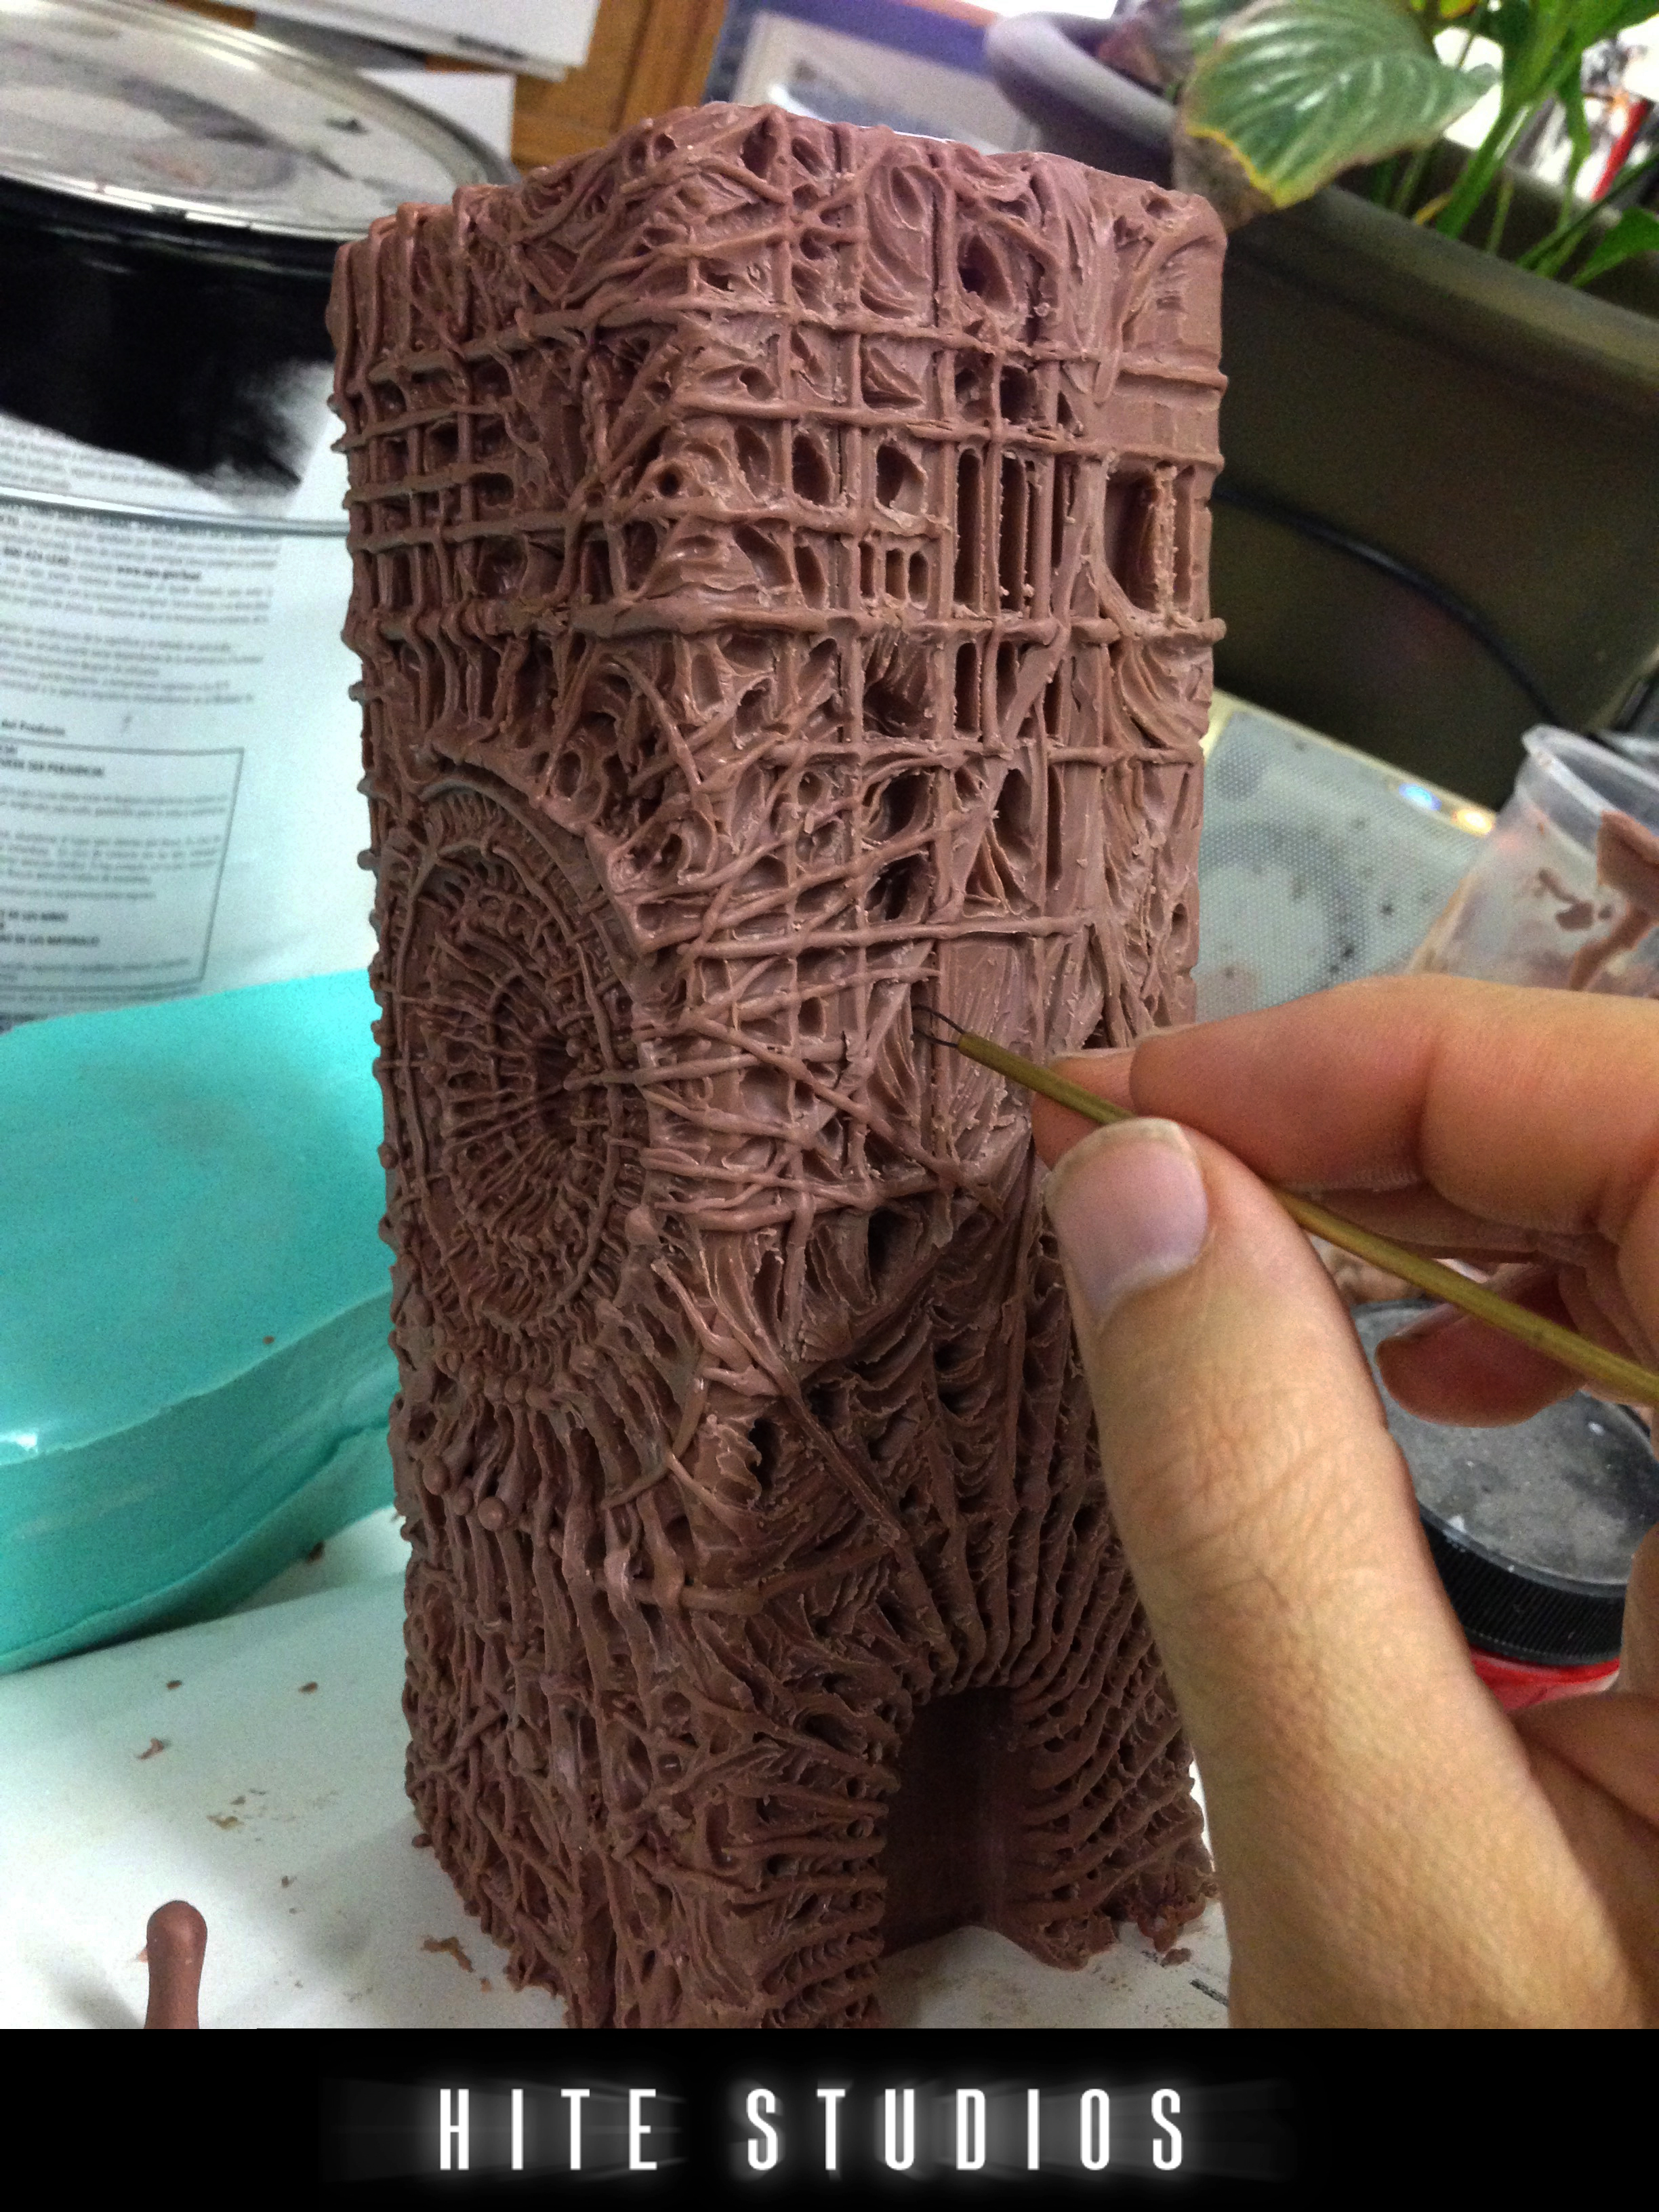
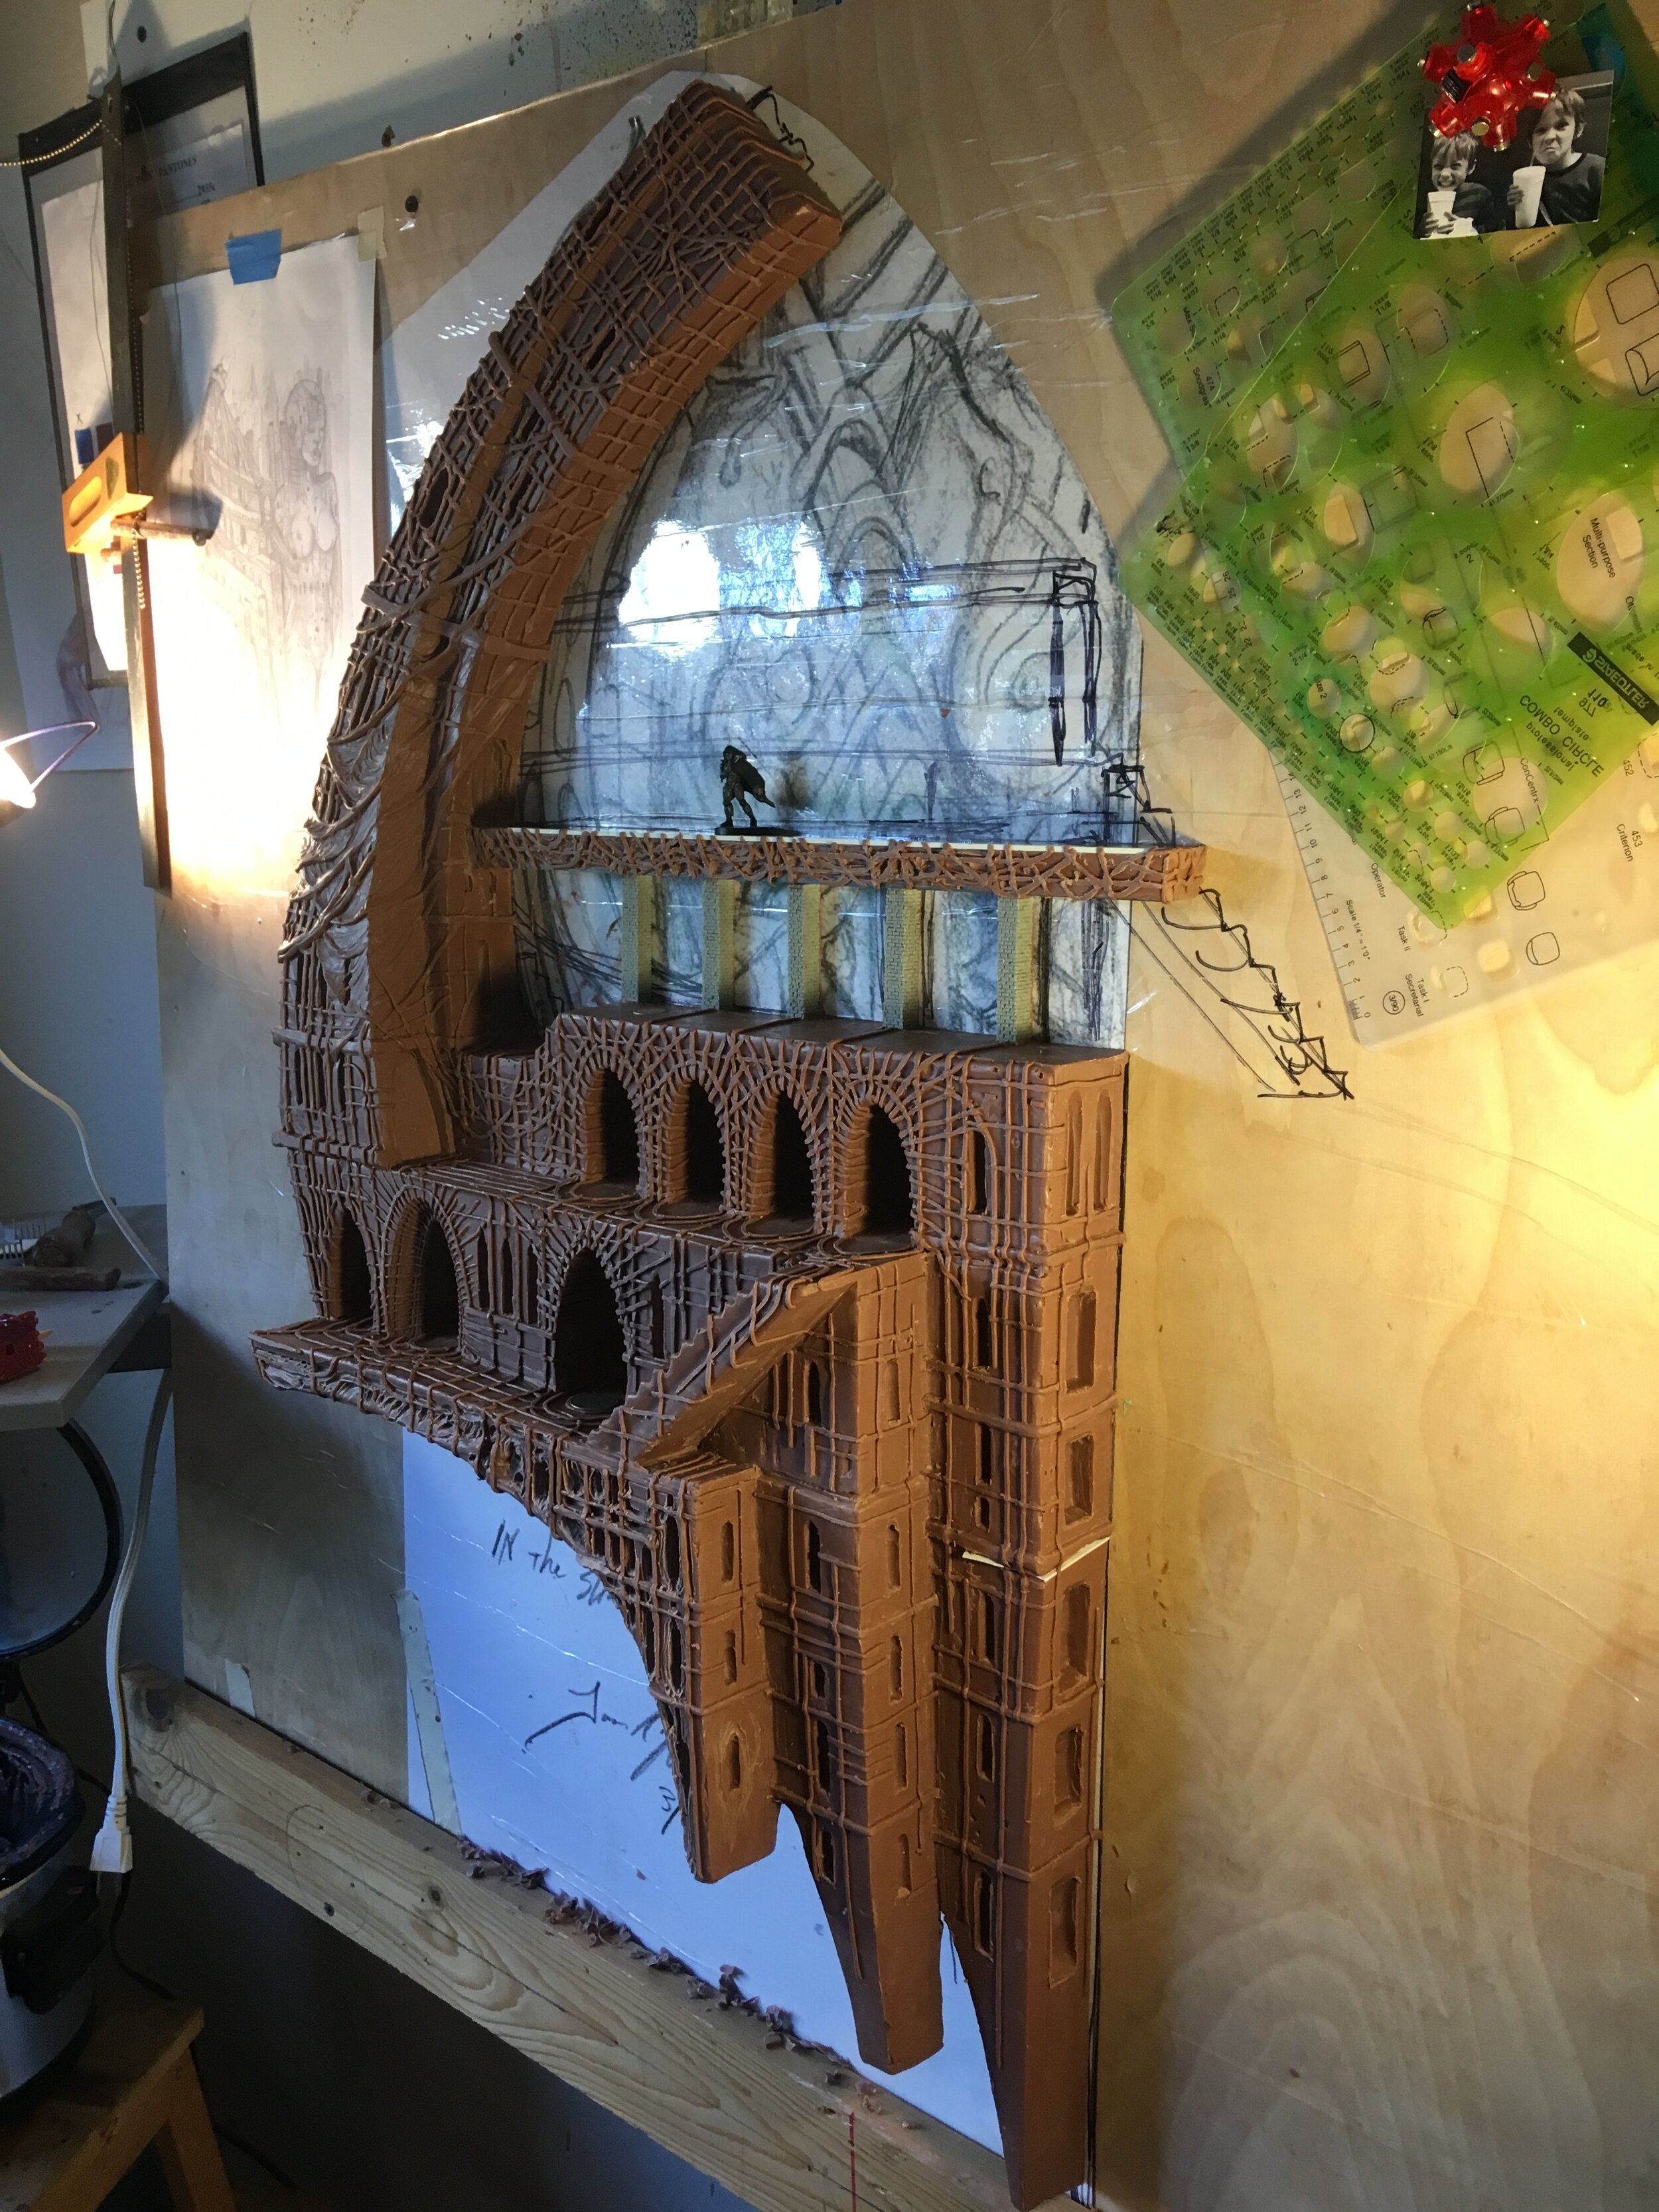
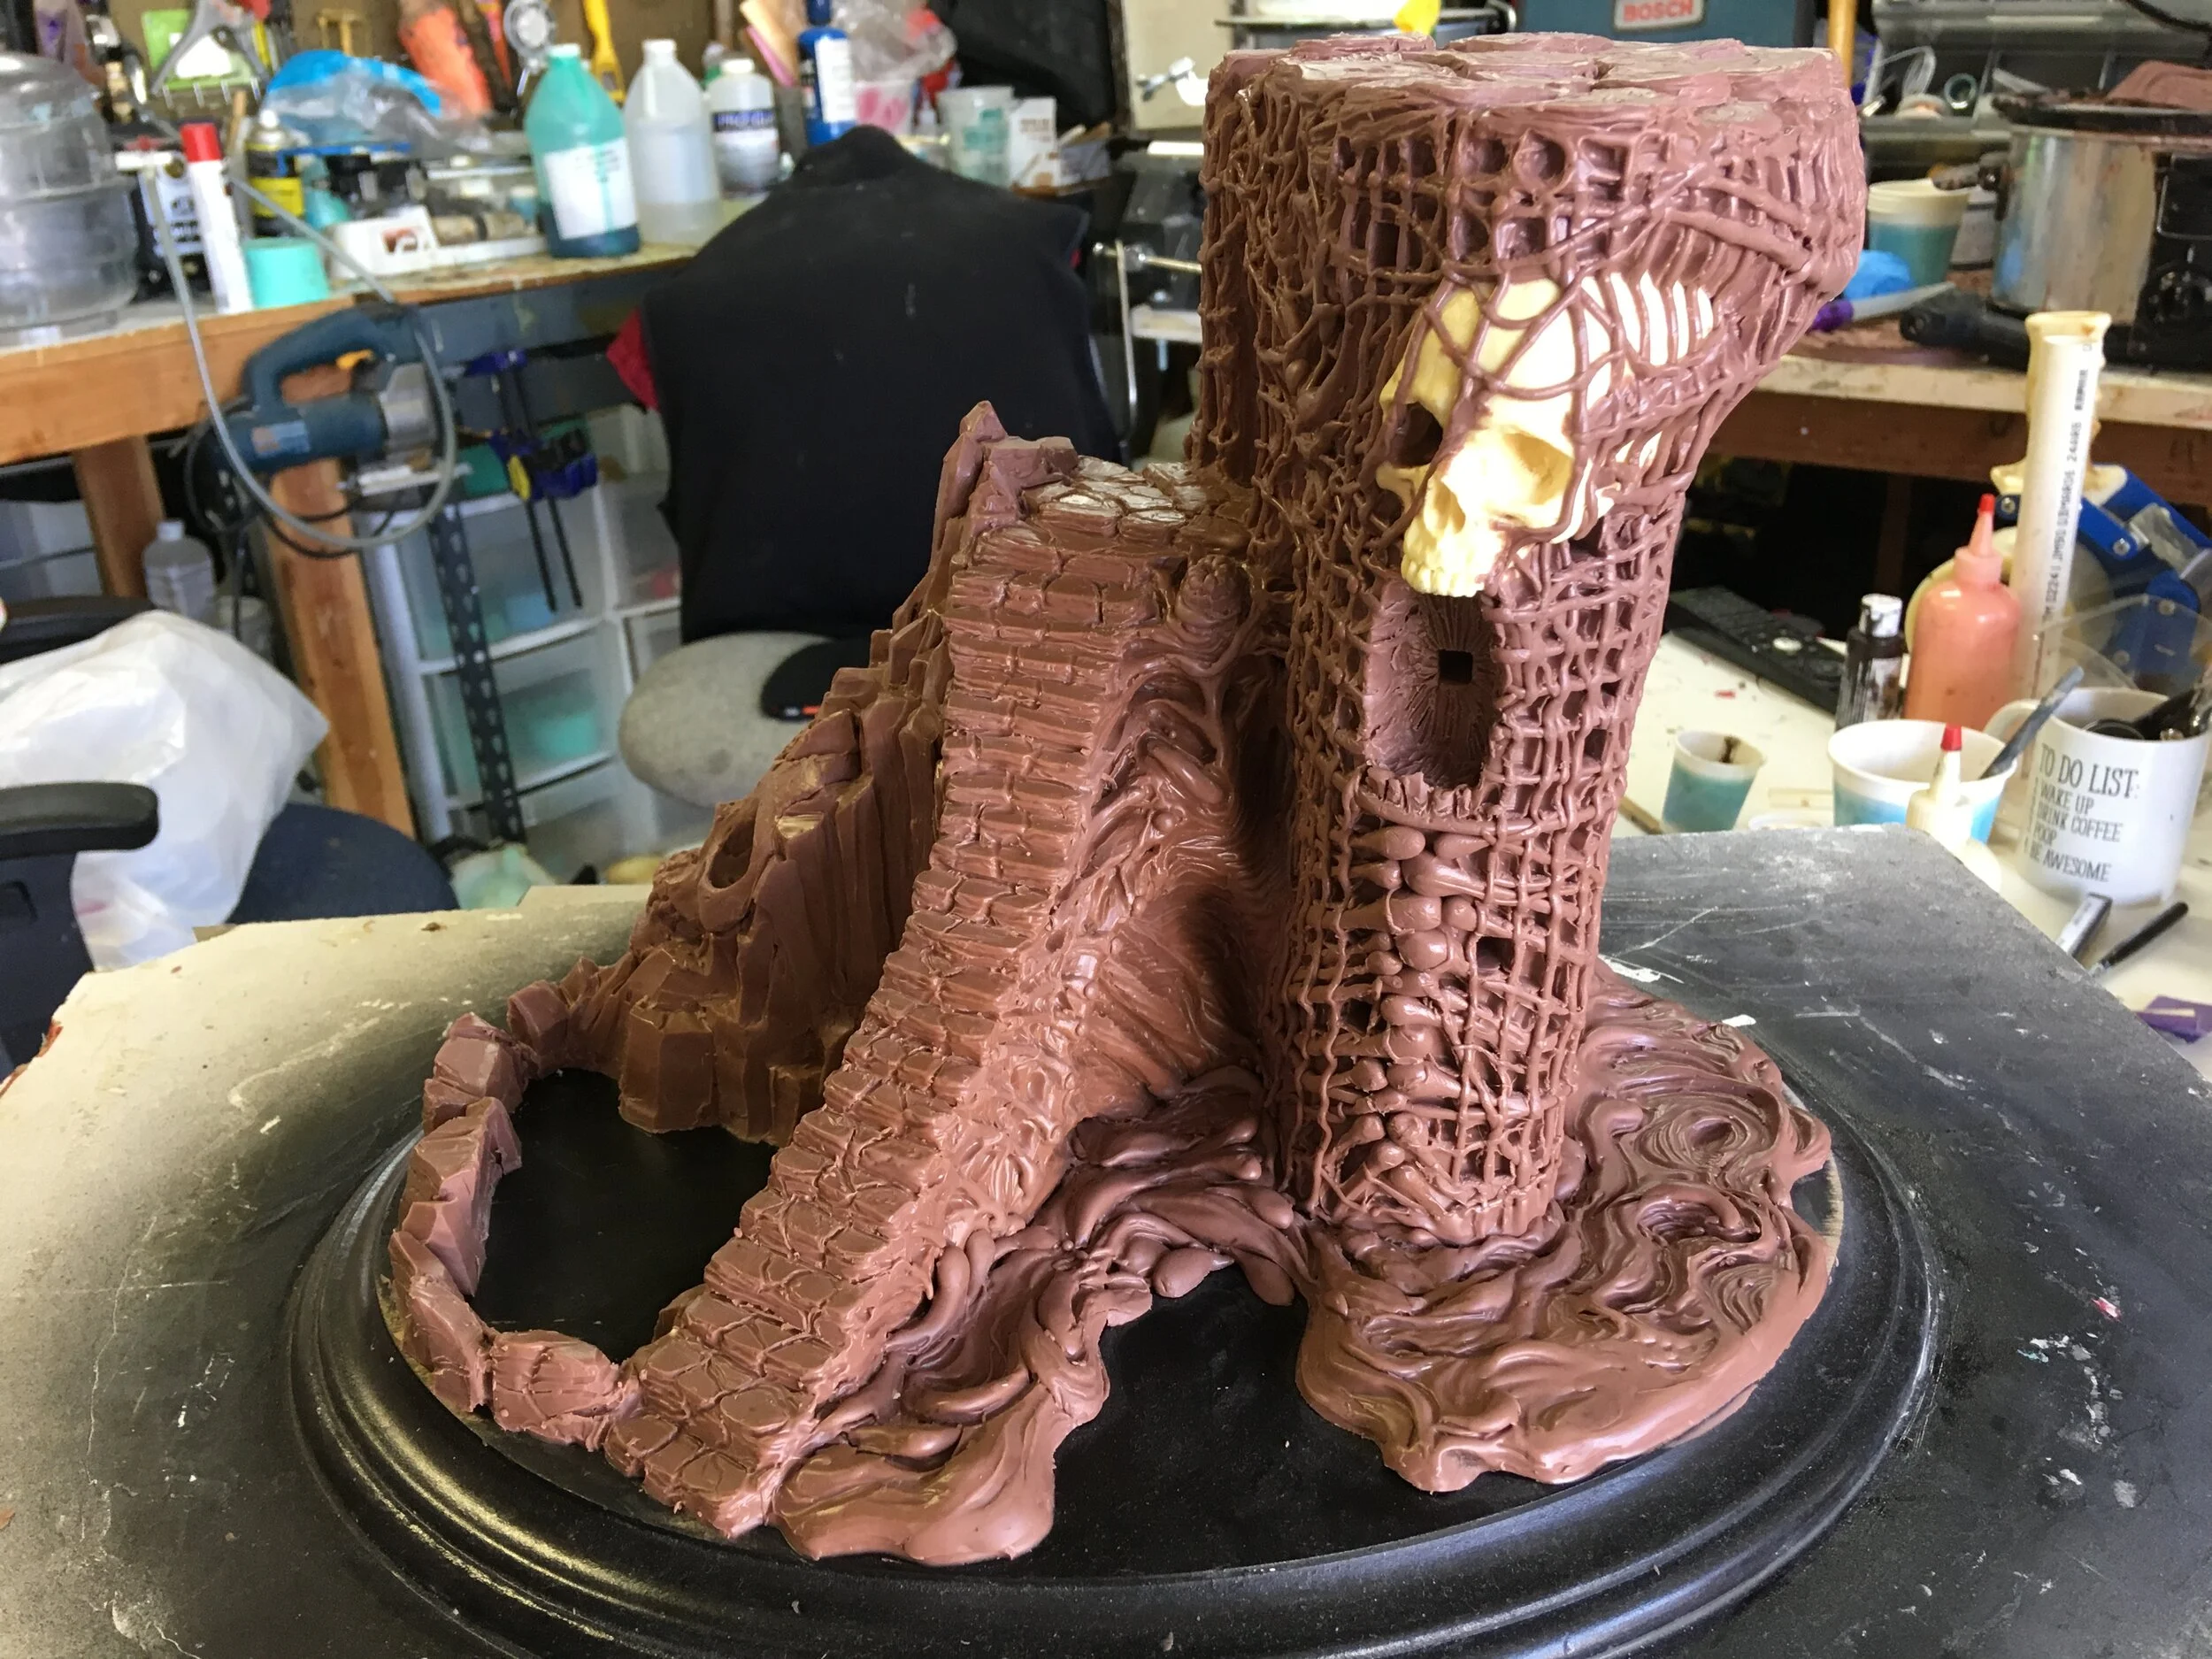
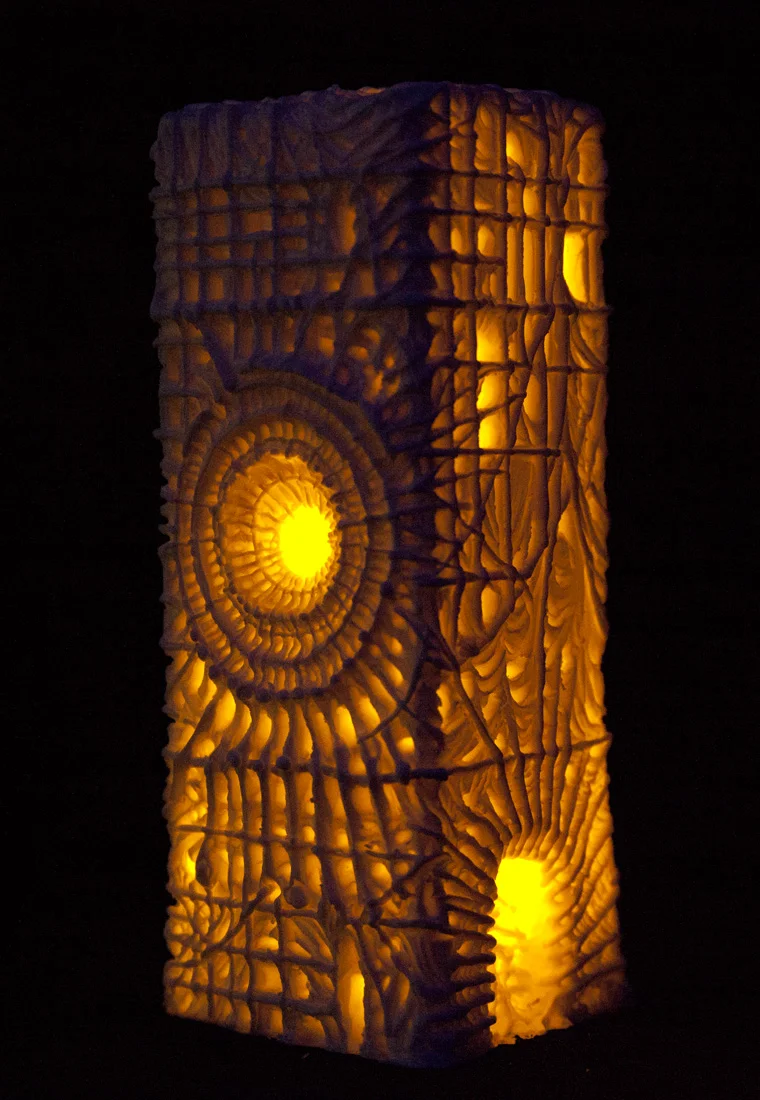
The above sculpture was sort of my practice for the surfacing detail I wanted to use on the terrain of this game environment. I was very inspired by the surreal painting of Zdzislaw Beksinski. To me, his work feels like something from the afterlife or a parallel plane of existance.

Once my little Beksinski Building was complete, I made a mold, and further experimented with different color pigmented, hollow castings. In each, I put a single LED tealight to see how the light shined through.

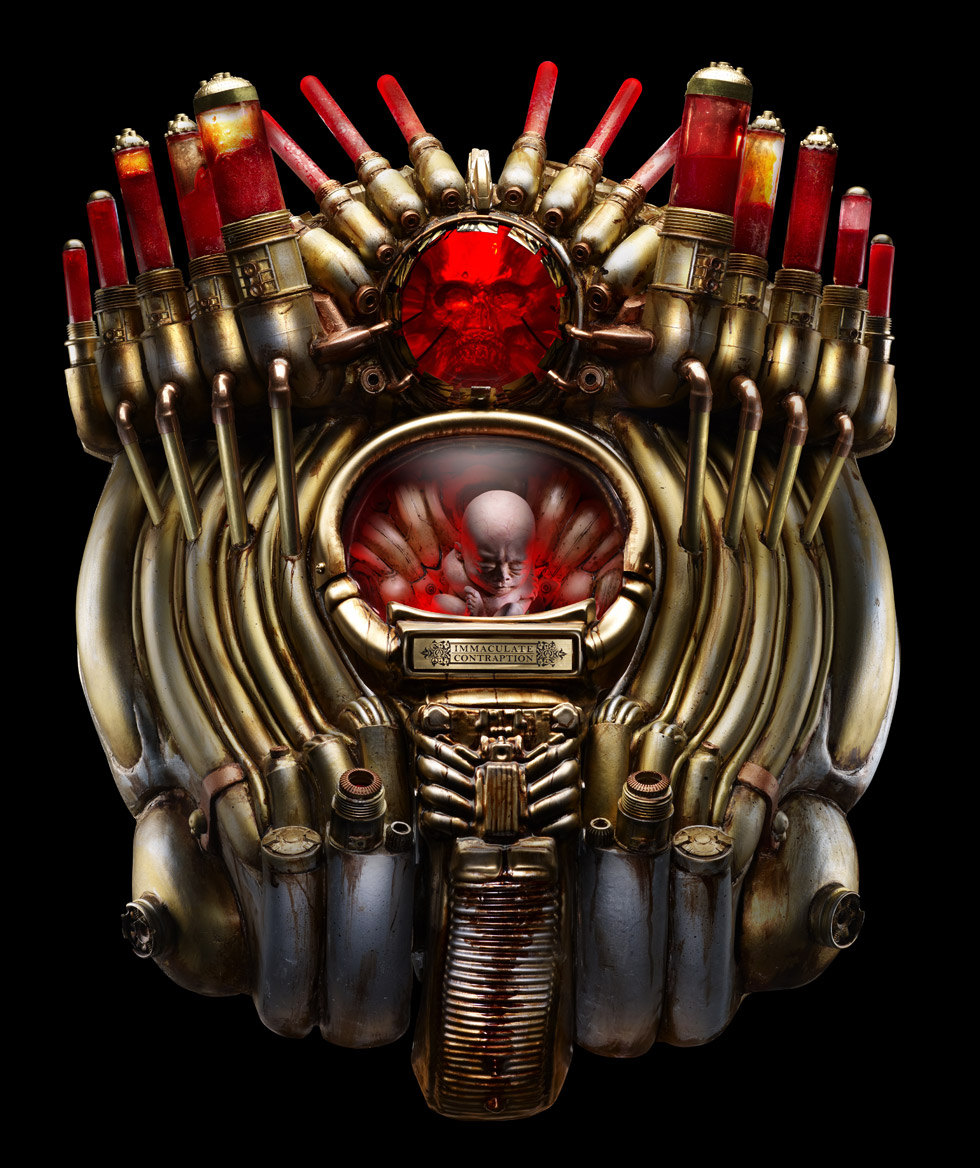
The odd thing was that the lighting that worked the best was the plain white un-pigmented, unpainted resin. The result is the first image at the top of this post. All the translucent pigmented resin did not refract the light within the hollow space enough to carry it up the building.

Sometimes it's the simple answer.
Now that I had experimented with the surface texture, casting thicknesses, and pigments it was time to start diving into the game environment. Below is a work in progress of the left wing of the sculpture made in Monster Makers Clay.

The very beginning of the sculpture.

Close to being finished with the left side here.

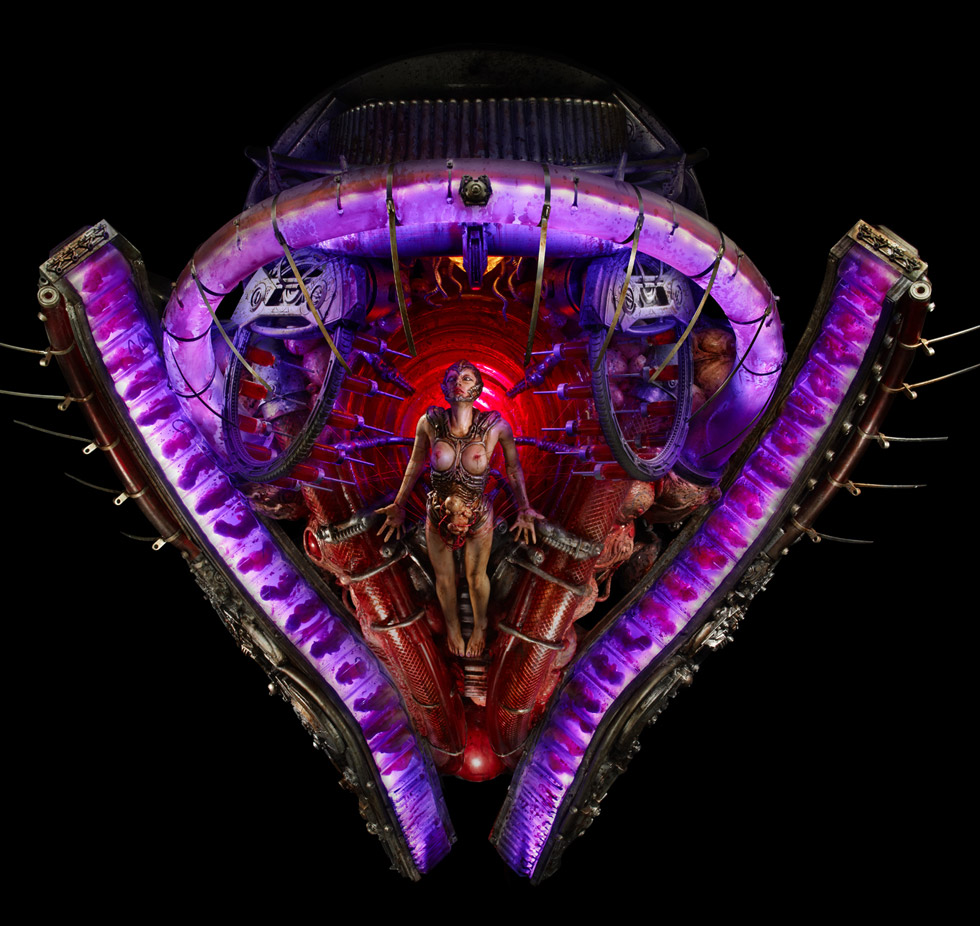
Above you can see a little 28mm ghost figure I threw in the photo to give you an idea of scale. The game environment will be about 3 feet tall and 3 -4 feet wide and will be able to hang on your wall as legitimate, internally lit ART when you are not playing it.

Above is a quick Photoshop mock up of the Spirit World game environment. My partner on this journey is my brother Jonathan Hite who also shares the same love for gaming as I do. There is still a lot of work we need to do and I plan to change the right wing to resemble the sketch below. It is a sister but not a twin. In this game players will traverse a spirit realm or astral plane in search of the lost soul of a little girl. They will traverse the game environment on a horizontal and vertical plane, encountering spirits, demons, and other worldly beings of the spirit realm. I'll release more information on the game as we progress. I can't wait to show you what we have in store for this game!!!

The right side will be made to look like a surreal brick and mortar structure.
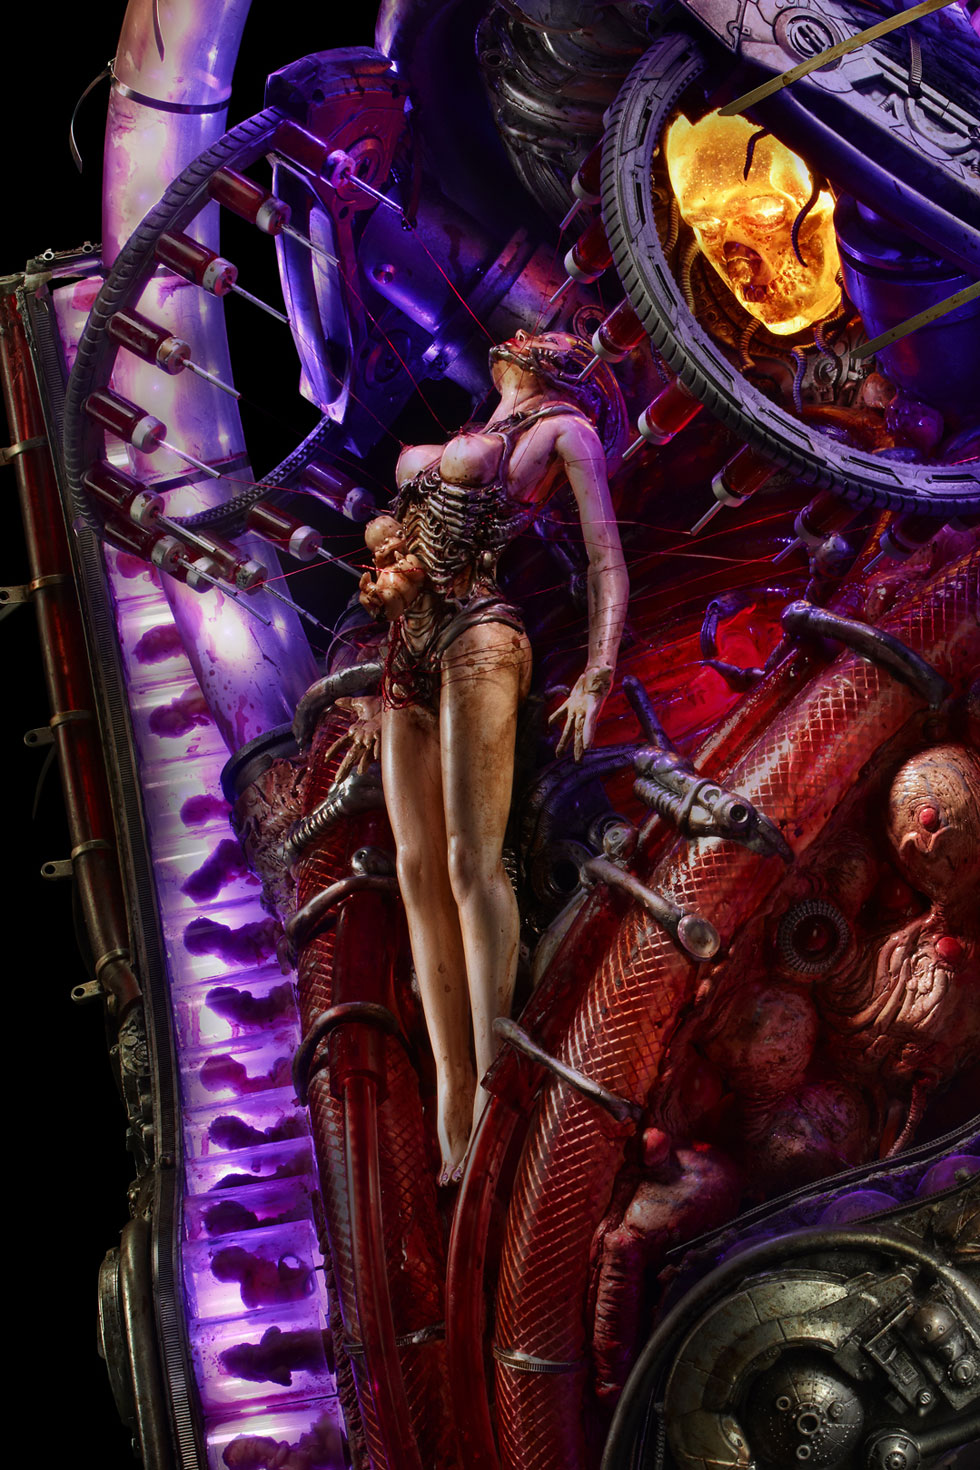
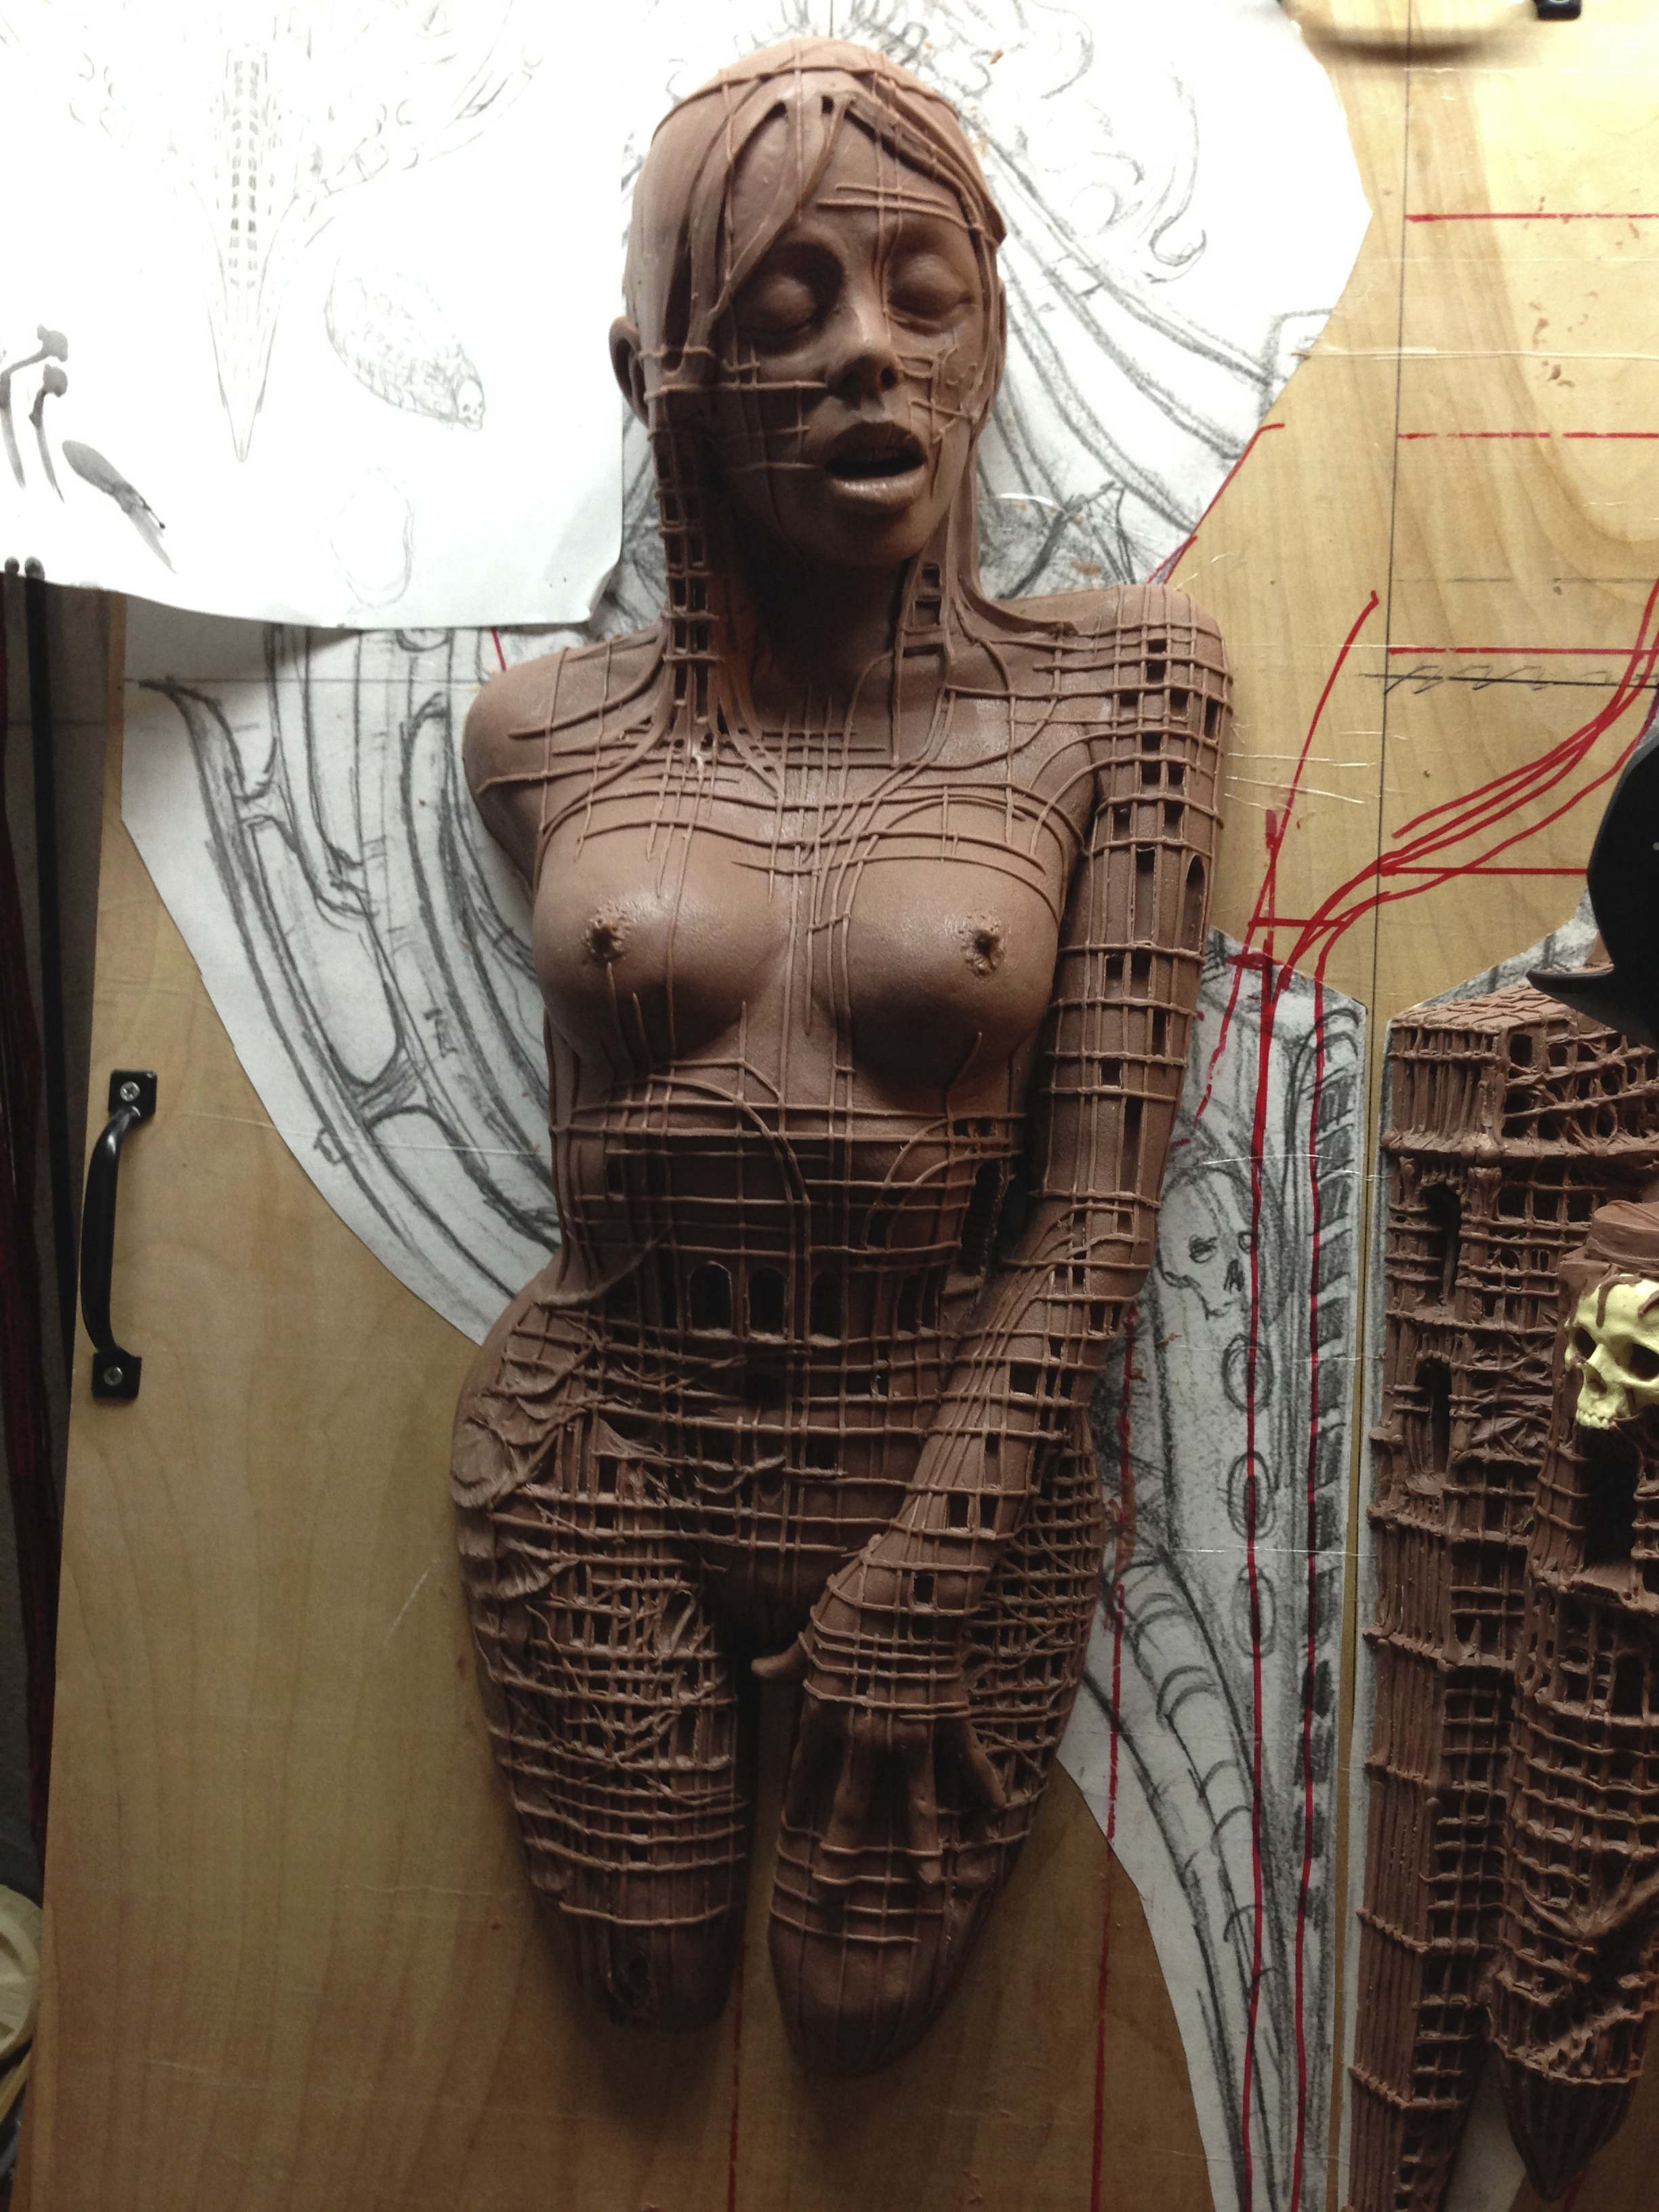
I'll leave you with these WIP's of the female center figure. We are not sure if we will include her in the game for obvious nudity reasons but this is also art and, well, we have all seen beautiful nude women in art! Let me know if you think she should be a part of the game environment in the comments below. Oh and check back on this page from time to time to see more updates as Jonny and I progress!
-Jason A. Hite 4/15/16


This journey started with a simple sketch inspired by my wife, Erica. I have changed the look drastically but this still remains my original inspiration and basic silhouette.